21 Budget-friendly Diy Pegboard Tool Organizer That Are Way Easier Than You Think
- Basic Framed Pegboard Panel
- Painted Pegboard for Visual Zones
- Pegboard Cut From Leftover Plywood Scraps
- Pegboard Mounted on a Rolling Cart
- Pegboard Cabinet Doors
- Magnetic Strip and Pegboard Combo
- Pegboard With Mason Jar Lids
- Vertical Pegboard Tool Strips
- Pegboard Behind a Workbench
- Pegboard With Custom 3D-Printed Hooks
- Pegboard Divided Into Labeled Sections
- Pegboard on a Sliding Barn Door Track
- Pegboard Inside a Closet Door
- Pegboard With Bins for Bulk Storage
- Two-Tone Pegboard for His and Hers Zones
- Pegboard Above a Potting Bench
- Freestanding Pegboard on an A-Frame
- Pegboard With a Chalkboard Border
- Pegboard Repurposed From an Old Shutter
- Pegboard Combined With Open Shelving
- Mini Pegboard for a Desk or Craft Table
Thought for 4s
21 Budget–friendly Diy Pegboard Tool Organizer That Are Way Easier Than You Think
If your garage, craft room, or workshop wall has turned into a chaos zone of tangled cords and misplaced screwdrivers, a pegboard is honestly one of the cheapest fixes you’ll ever make. You don’t need fancy tools or a big budget to pull this off. A basic sheet of pegboard, a handful of hooks, and an afternoon are pretty much all it takes. Here are 21 ideas that prove you don’t have to be a woodworking pro to get an organized, good-looking wall.
Basic Framed Pegboard Panel
Start simple with a single sheet of pegboard mounted inside a wood frame made from furring strips. The frame keeps the board rigid and gives you enough clearance behind it for standard hooks to sit properly. This is the foundation almost every other idea on this list builds from, and it’s an easy weekend project even if you’ve never built anything before. Paint the frame a color that matches your space, or leave it natural for a more rustic garage look.
Painted Pegboard for Visual Zones
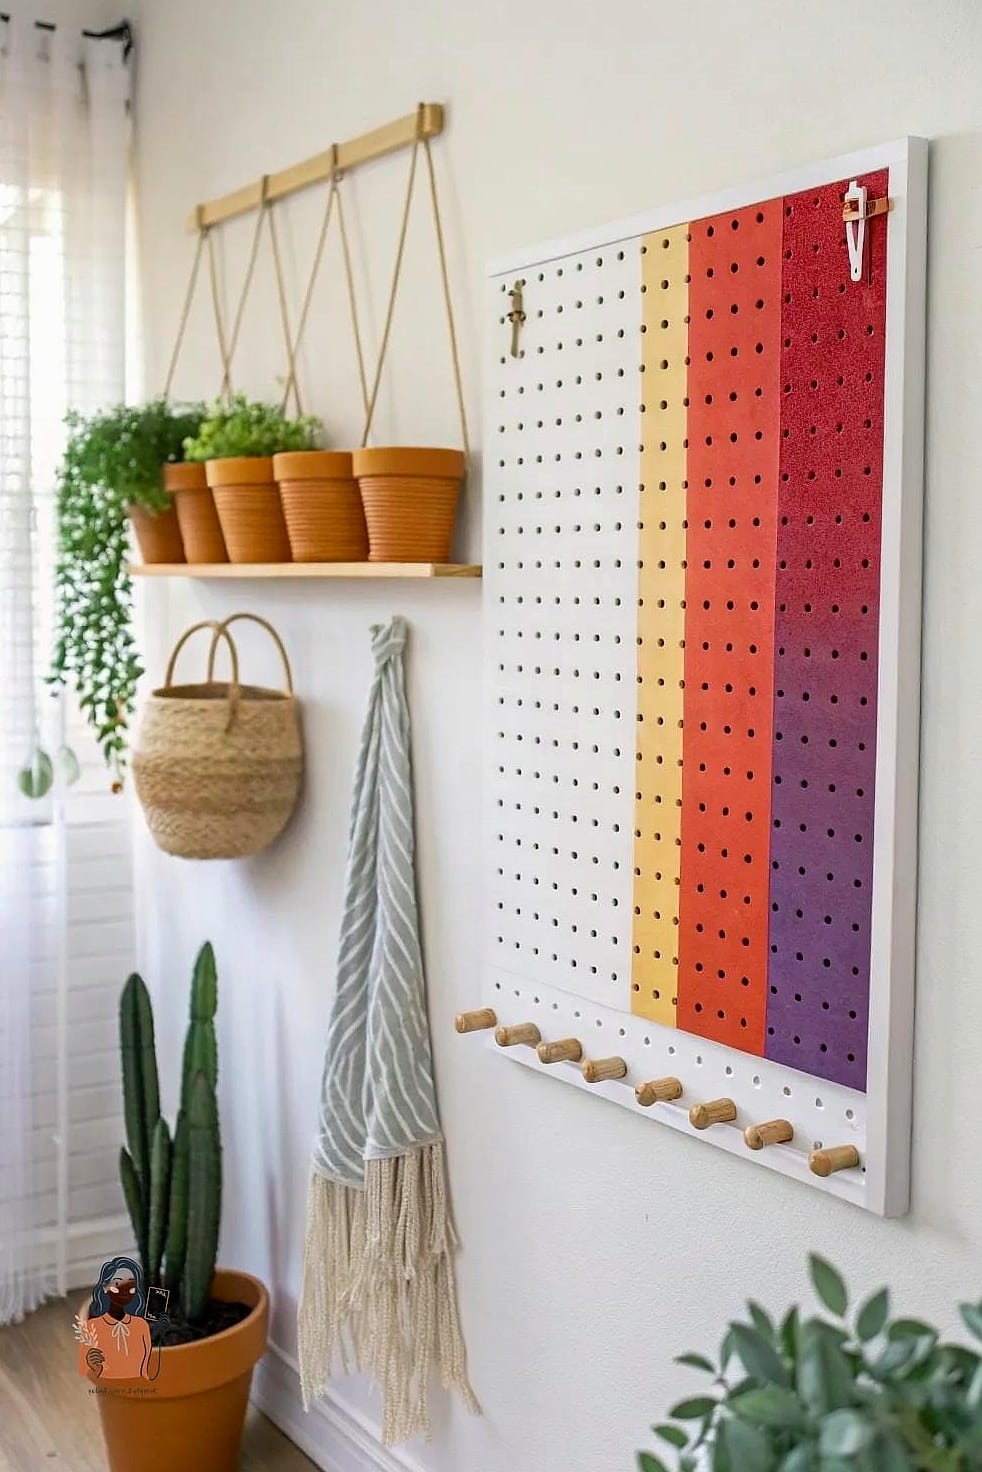
Instead of leaving your pegboard plain white or brown, paint sections in different colors to create visual zones for different tool categories. Painters, mechanics, and hobbyists all like this trick because it makes grabbing the right tool almost automatic. Try a darker color behind hand tools and a lighter shade behind measuring tools. It’s a small step that makes a noticeable difference in how fast you can find things.
Pegboard Cut From Leftover Plywood Scraps
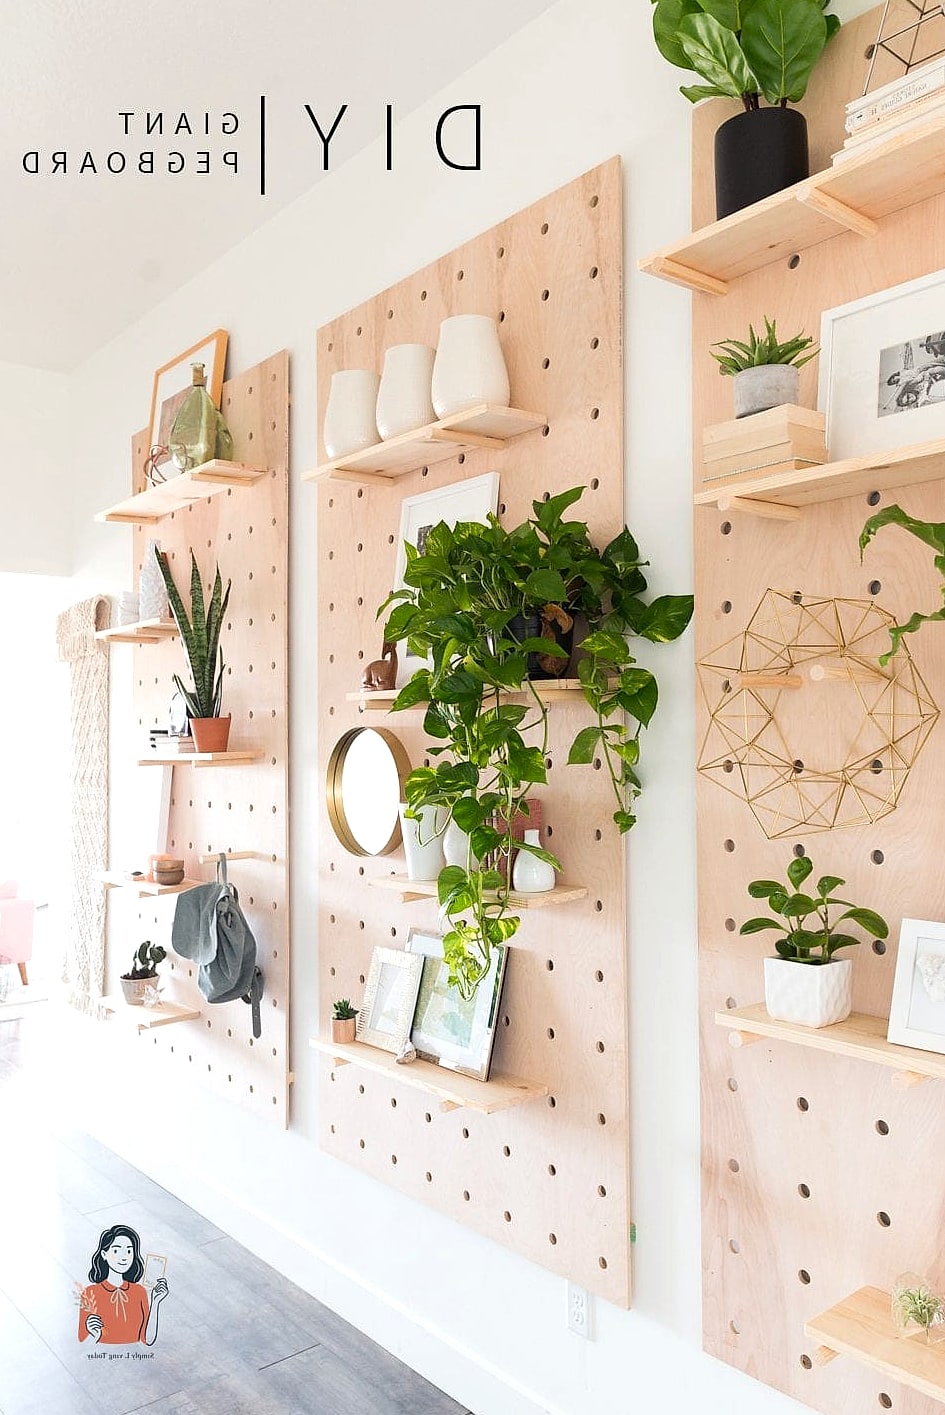
If you’ve got construction scraps sitting around, you can cut your own pegboard holes with a drill press and a simple hole-spacing template instead of buying pre-made board. It takes longer, but it’s essentially free if you already have the material. This works especially well for smaller custom sections, like a narrow strip above a workbench where standard pegboard sheets don’t fit well.
Pegboard Mounted on a Rolling Cart
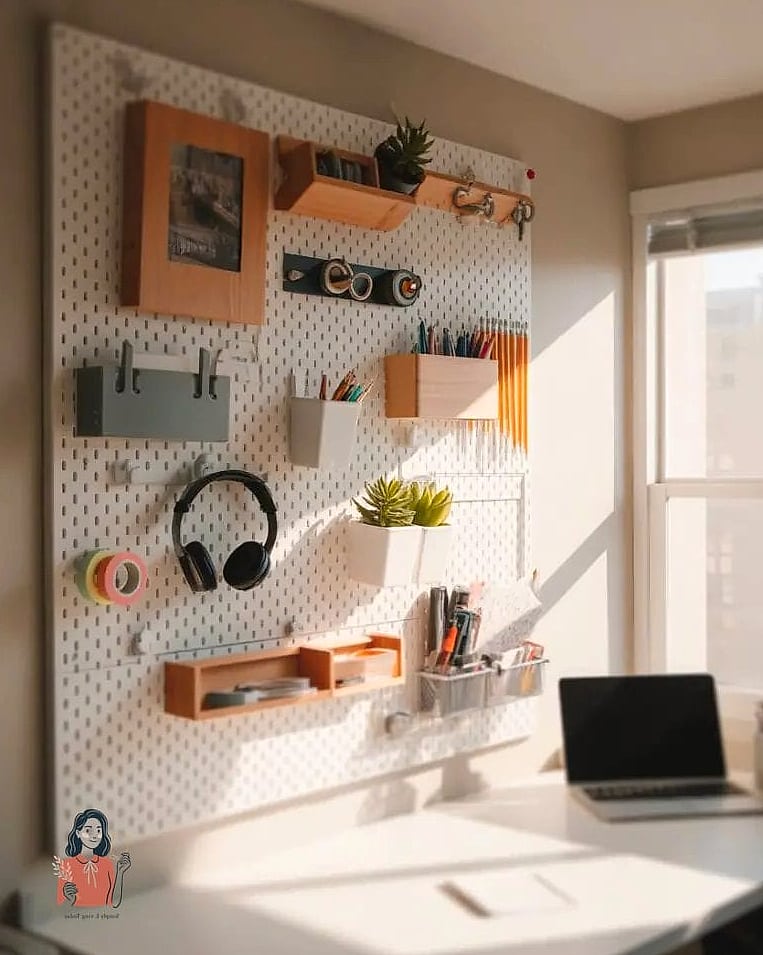
Attach a small pegboard panel to the side or back of a rolling utility cart so your tools travel with you around the garage or job site. This is a great option if you’re short on wall space or you work in more than one area of your home. Add locking caster wheels so the cart stays put when you’re using it, and unlocks easily when you need to move it.
Pegboard Cabinet Doors
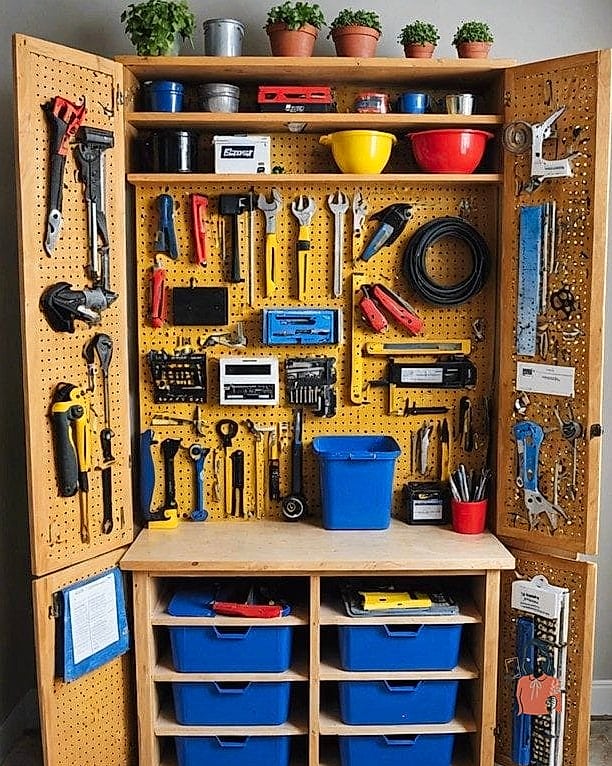
If you have an old cabinet with flat doors, swap the panel inserts for pegboard instead. You get hidden storage that closes up neatly, which is ideal for a garage that doubles as extra living space or a shared area. This is a nice option for people who like the organization but don’t necessarily want tools on full display all the time.
Magnetic Strip and Pegboard Combo
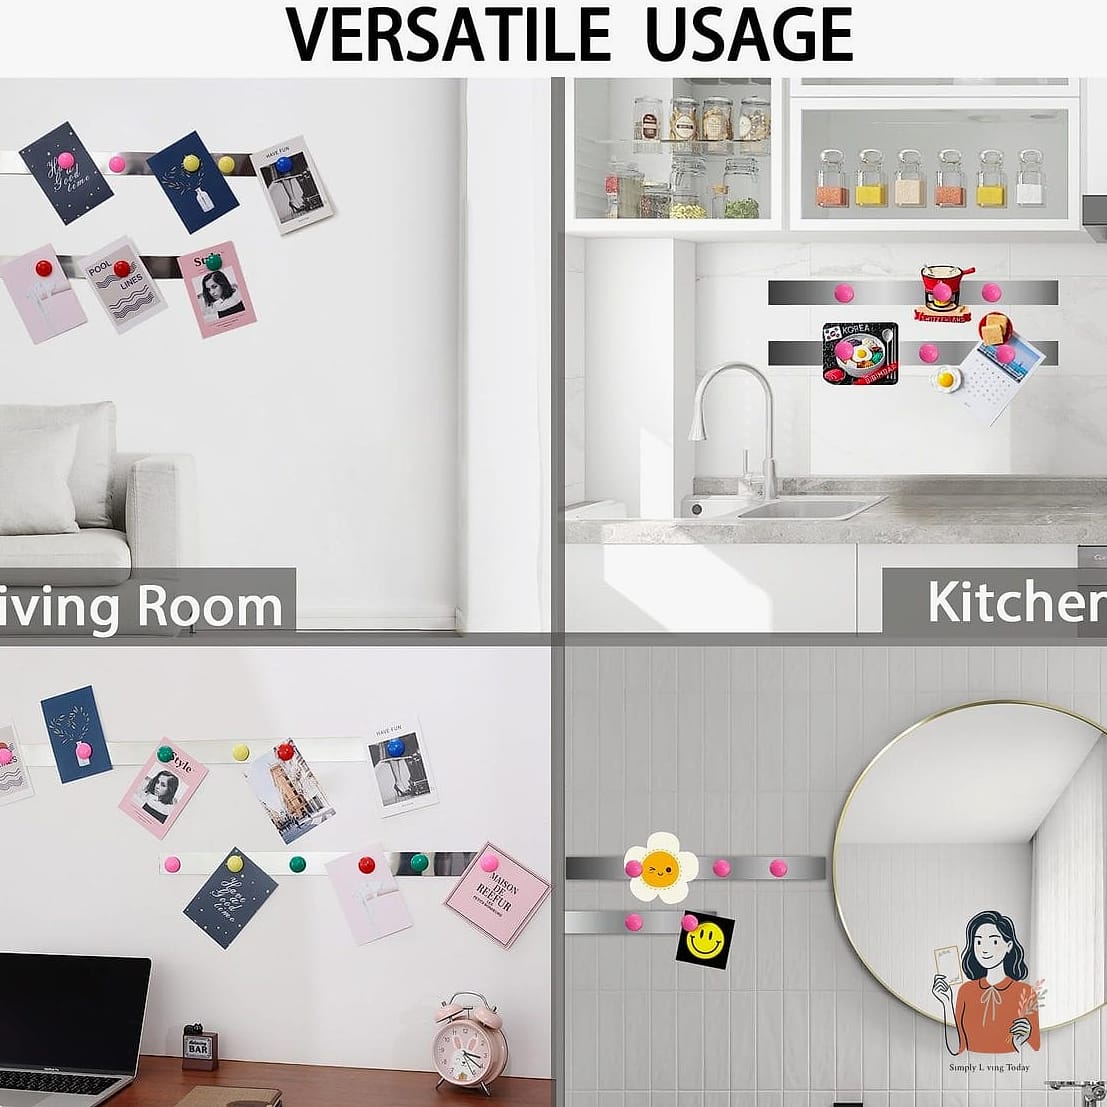
Pair a section of pegboard with a magnetic strip mounted just below it for small metal items like drill bits, wrenches, and screws that are too small for standard hooks. The magnetic strip catches things that would otherwise fall through pegboard holes or roll off a shelf. This combo works particularly well above a workbench where you’re grabbing small parts constantly.
Pegboard With Mason Jar Lids
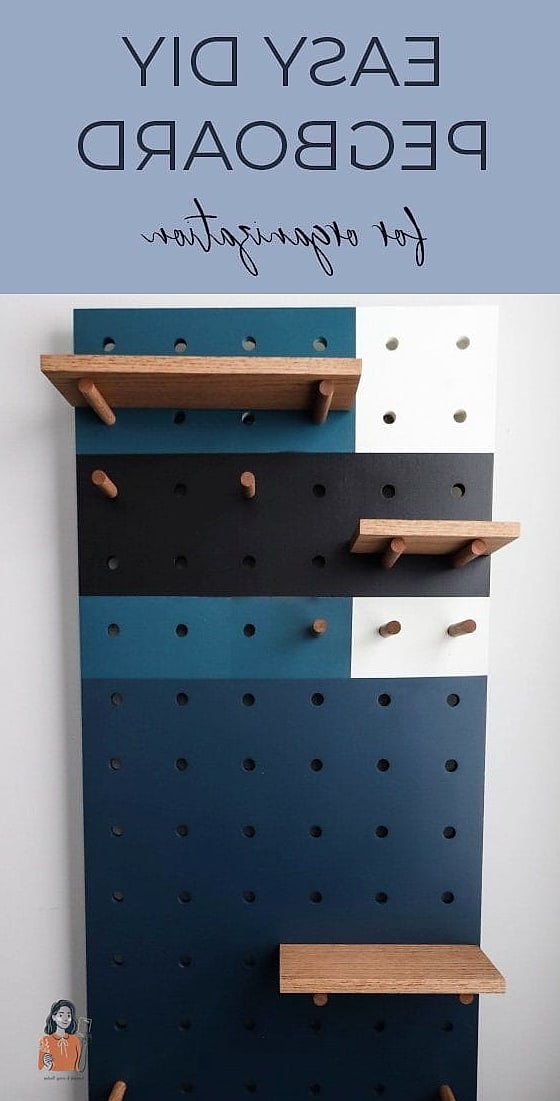
Screw mason jar lids directly onto the pegboard, then twist the jars into place for a simple way to store screws, nails, and other loose hardware. You can see exactly what’s inside each jar without opening anything, which saves a surprising amount of time. This is one of the most budget-friendly options on the list since mason jars are cheap and often already sitting in a kitchen cabinet.
Vertical Pegboard Tool Strips
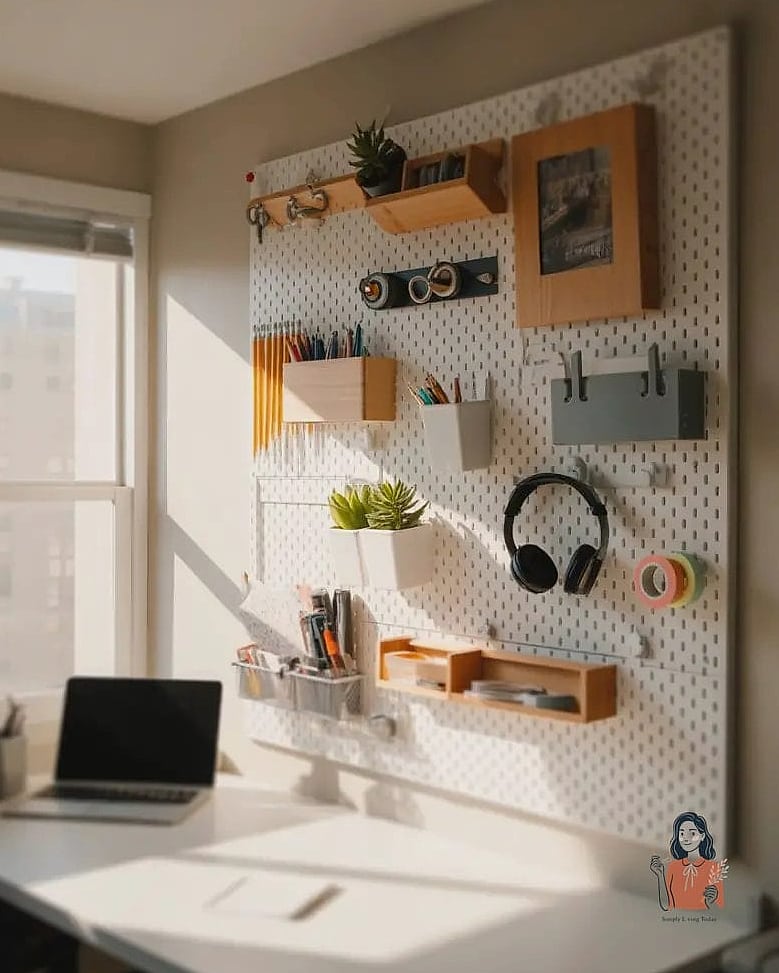
Instead of covering an entire wall, mount narrow vertical strips of pegboard between studs or in tight spaces like the side of a shelving unit. This works great in smaller garages or sheds where a full sheet just won’t fit. Even an 8-inch strip can hold a handful of frequently used tools within easy reach.
Pegboard Behind a Workbench
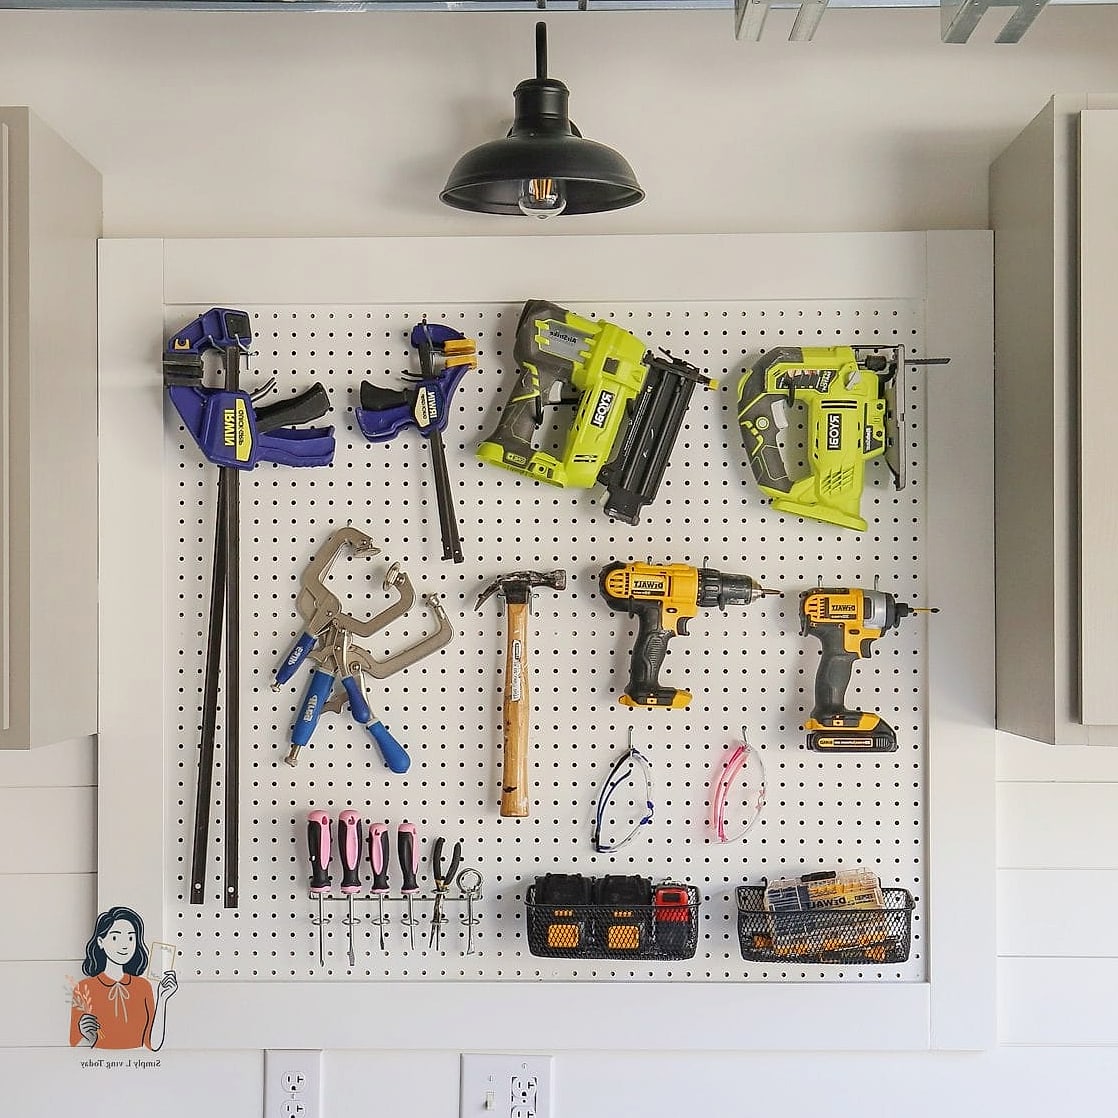
Mount pegboard directly above your workbench so your most-used tools hang at eye level, right where you’re already working. This cuts down on the number of times you have to walk across the garage mid-project. Keep it stocked with whatever you reach for most, whether that’s hammers and pliers or paintbrushes and utility knives.
Pegboard With Custom 3D-Printed Hooks
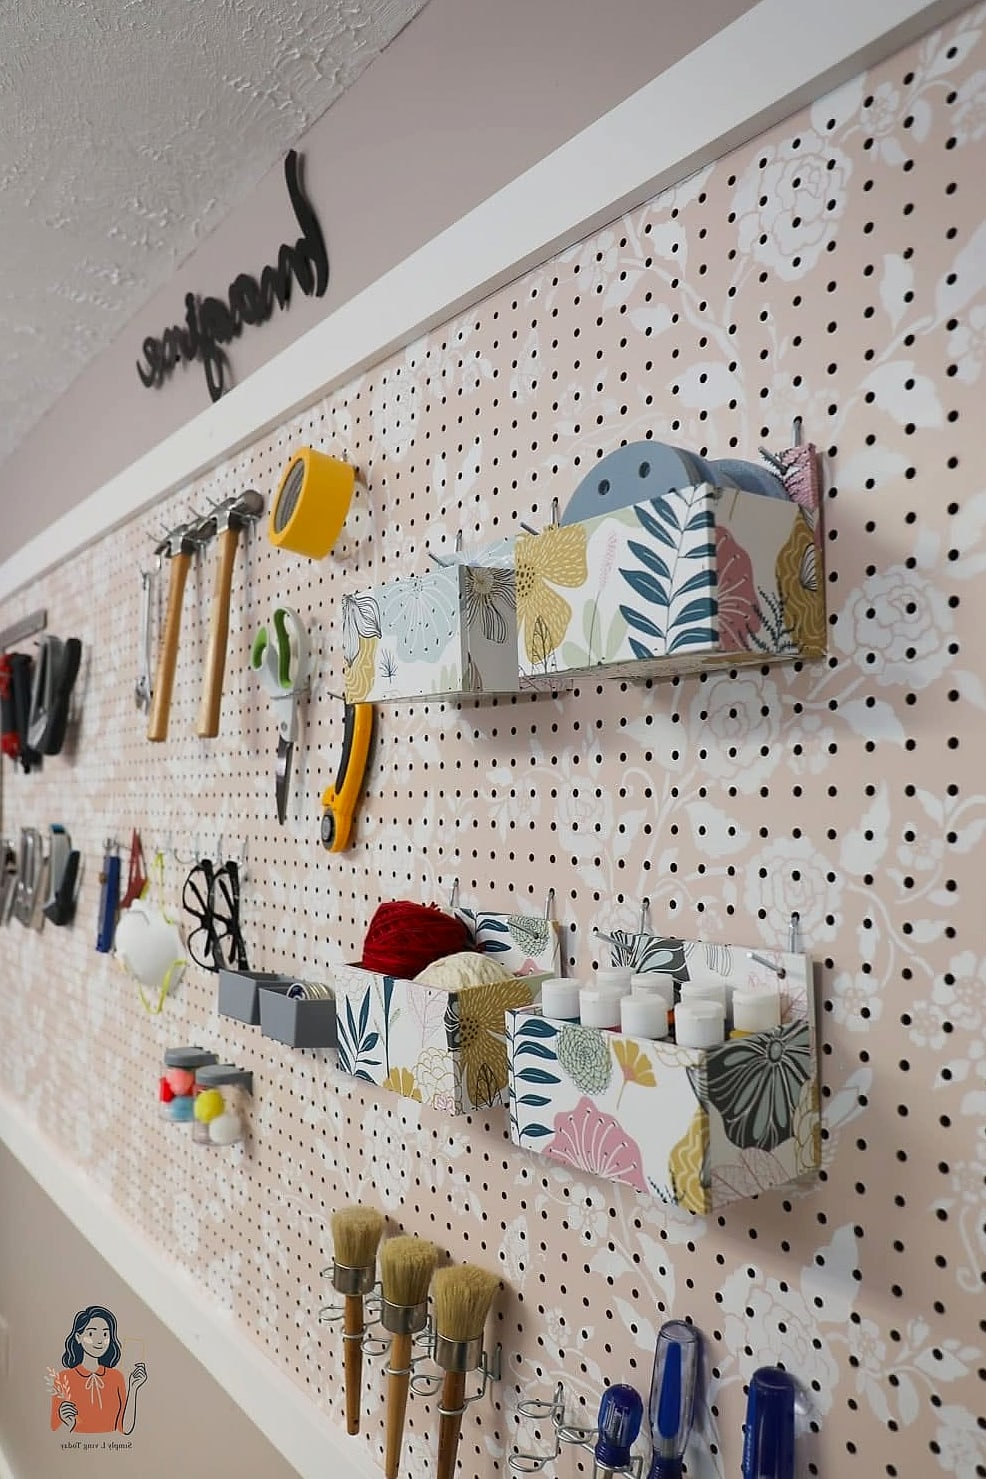
If you or someone you know has access to a 3D printer, custom hooks shaped to fit specific tools keep everything snug and prevent items from swinging or falling off. This is a fun option for anyone who wants a tailored setup, though standard store-bought hooks work perfectly well if 3D printing isn’t an option for you.
Pegboard Divided Into Labeled Sections
Use painter’s tape or a marker to outline sections on your pegboard, then label each one for a specific category, like electrical, plumbing, or yard tools. Outline the shape of each tool with a paint marker so you know exactly where it goes back after use. This labeling trick is especially helpful in shared garages where more than one person grabs tools.
Pegboard on a Sliding Barn Door Track
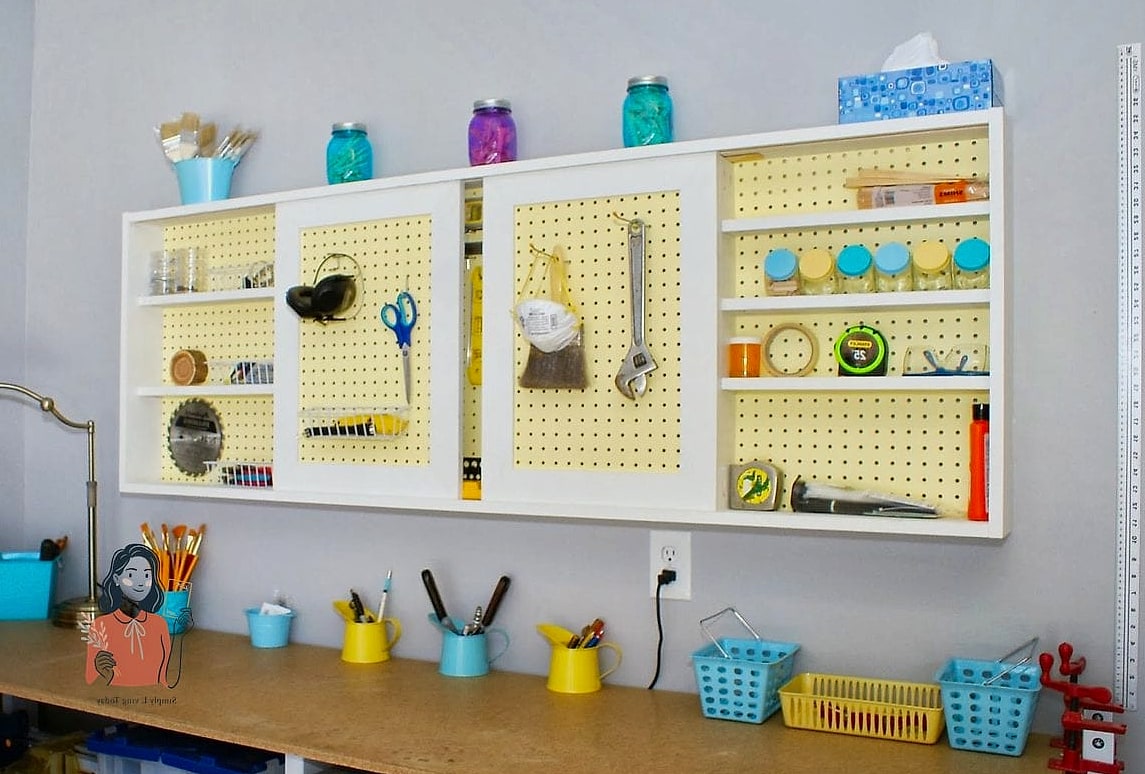
Mount your pegboard on a small barn door track so it slides open and closed over a workbench or storage shelf. This adds a layer of protection from dust while keeping the organization intact. It’s a slightly more involved project, but the hardware is inexpensive and the payoff in garage storage is worth it if you have the wall space.
Pegboard Inside a Closet Door
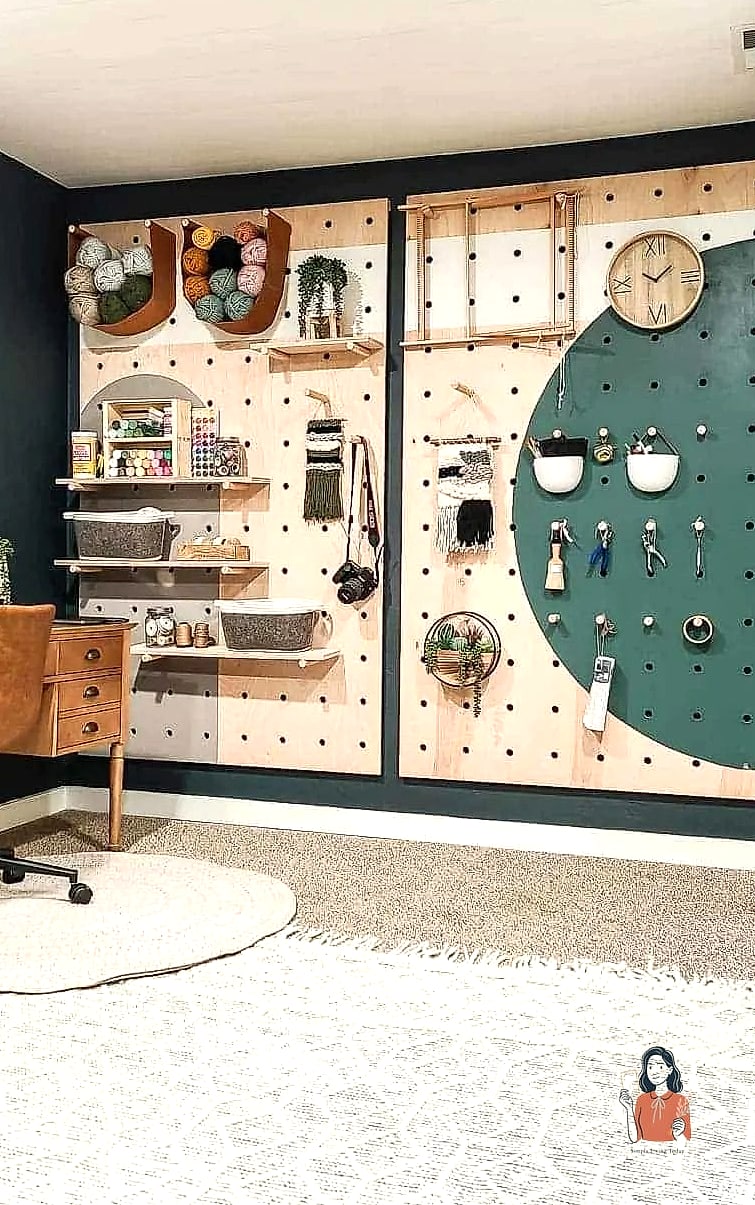
Attach a lightweight pegboard panel to the inside of a closet or pantry door for tools you use around the house, like a hammer, tape measure, and screwdrivers. This keeps everyday household tools out of sight but still easy to grab. It’s one of the easiest projects on this list since you’re not mounting anything to drywall.
Pegboard With Bins for Bulk Storage
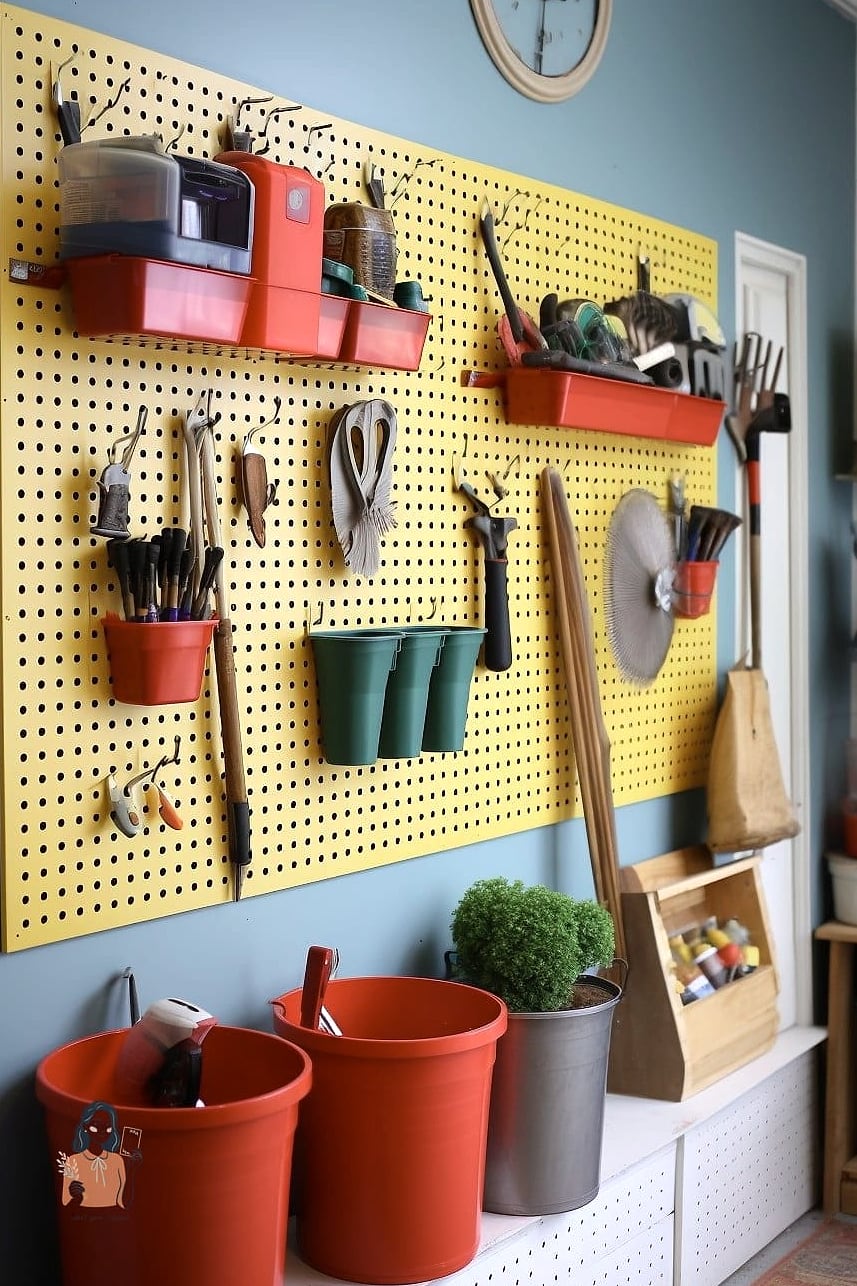
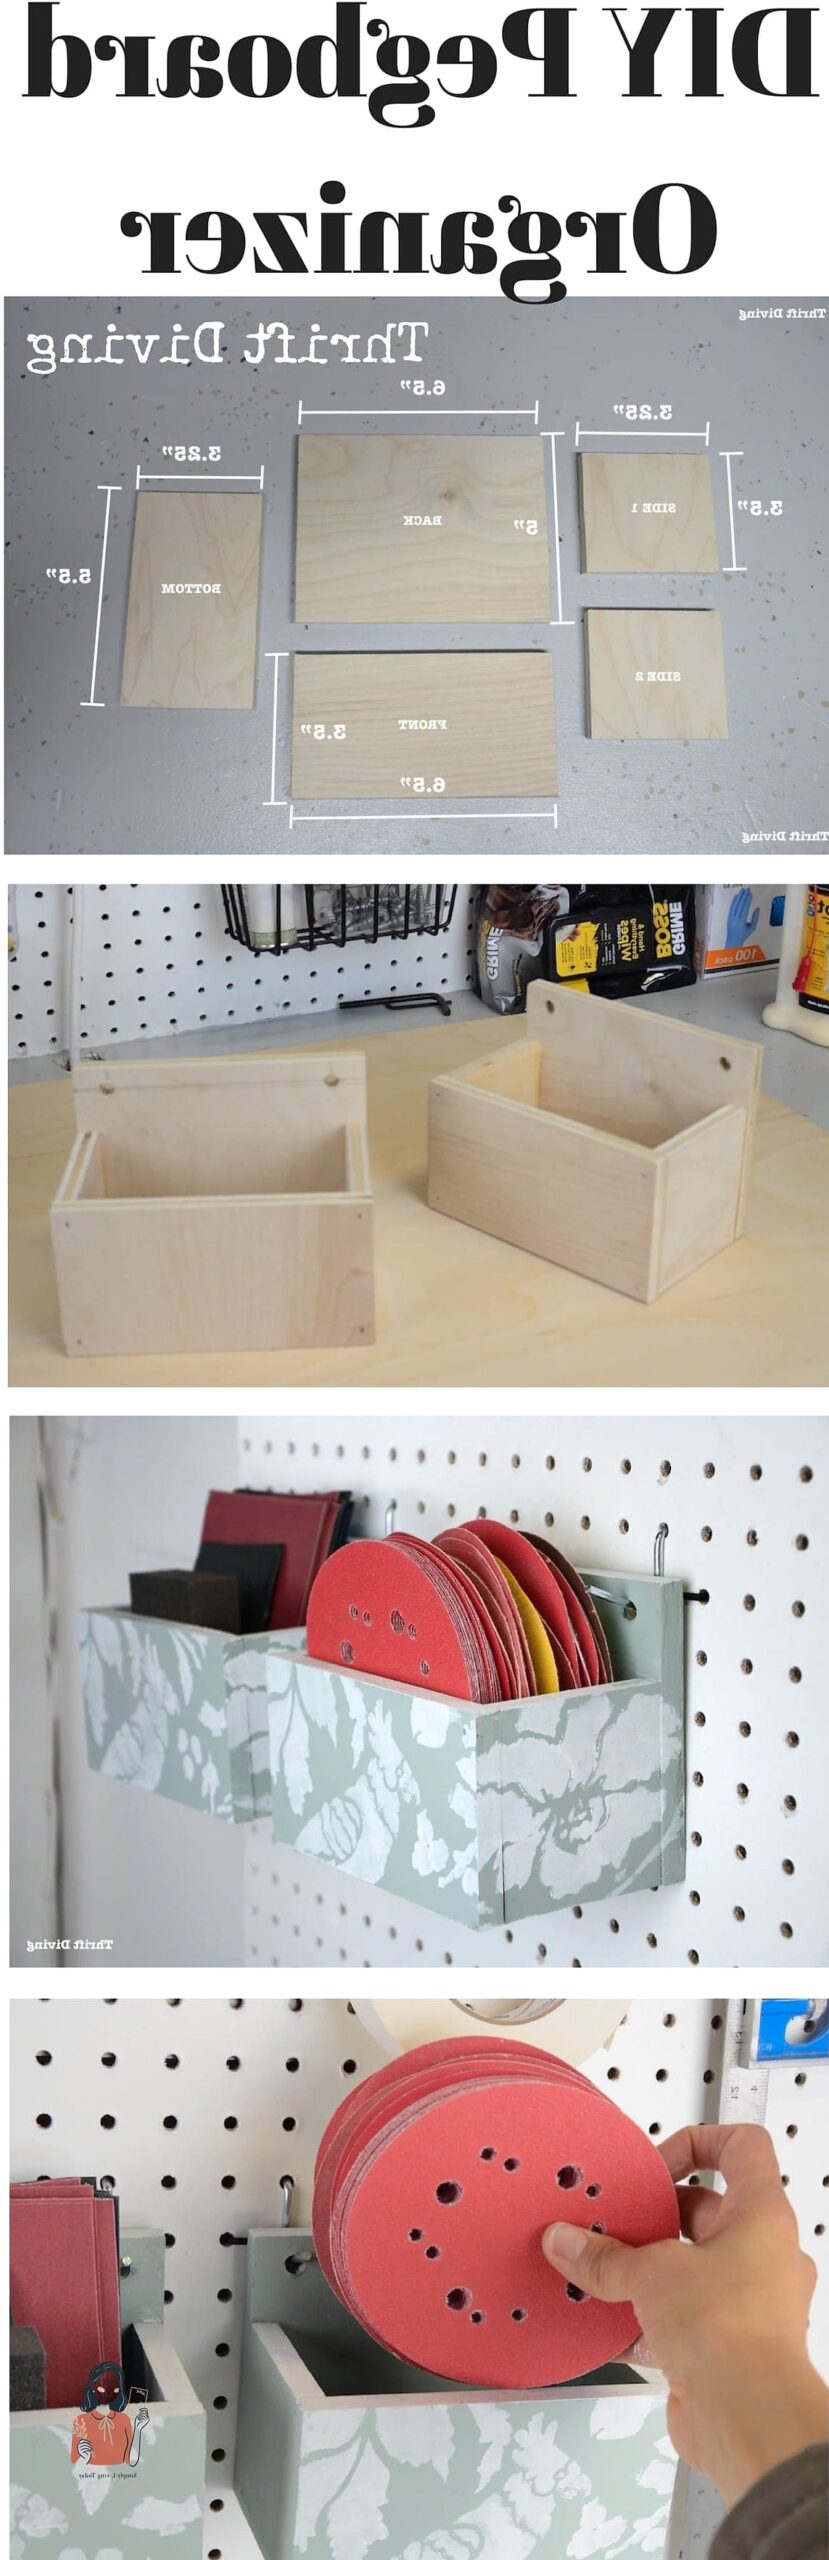
Add small plastic or wire bins that hook directly onto pegboard pegs for items that don’t hang well, like nails, sandpaper sheets, or rags. This gives you the flexibility of shelving combined with the customization of a pegboard layout. Bins are especially useful for garage organizing since so many small supplies don’t have an obvious place to hang.
Two-Tone Pegboard for His and Hers Zones
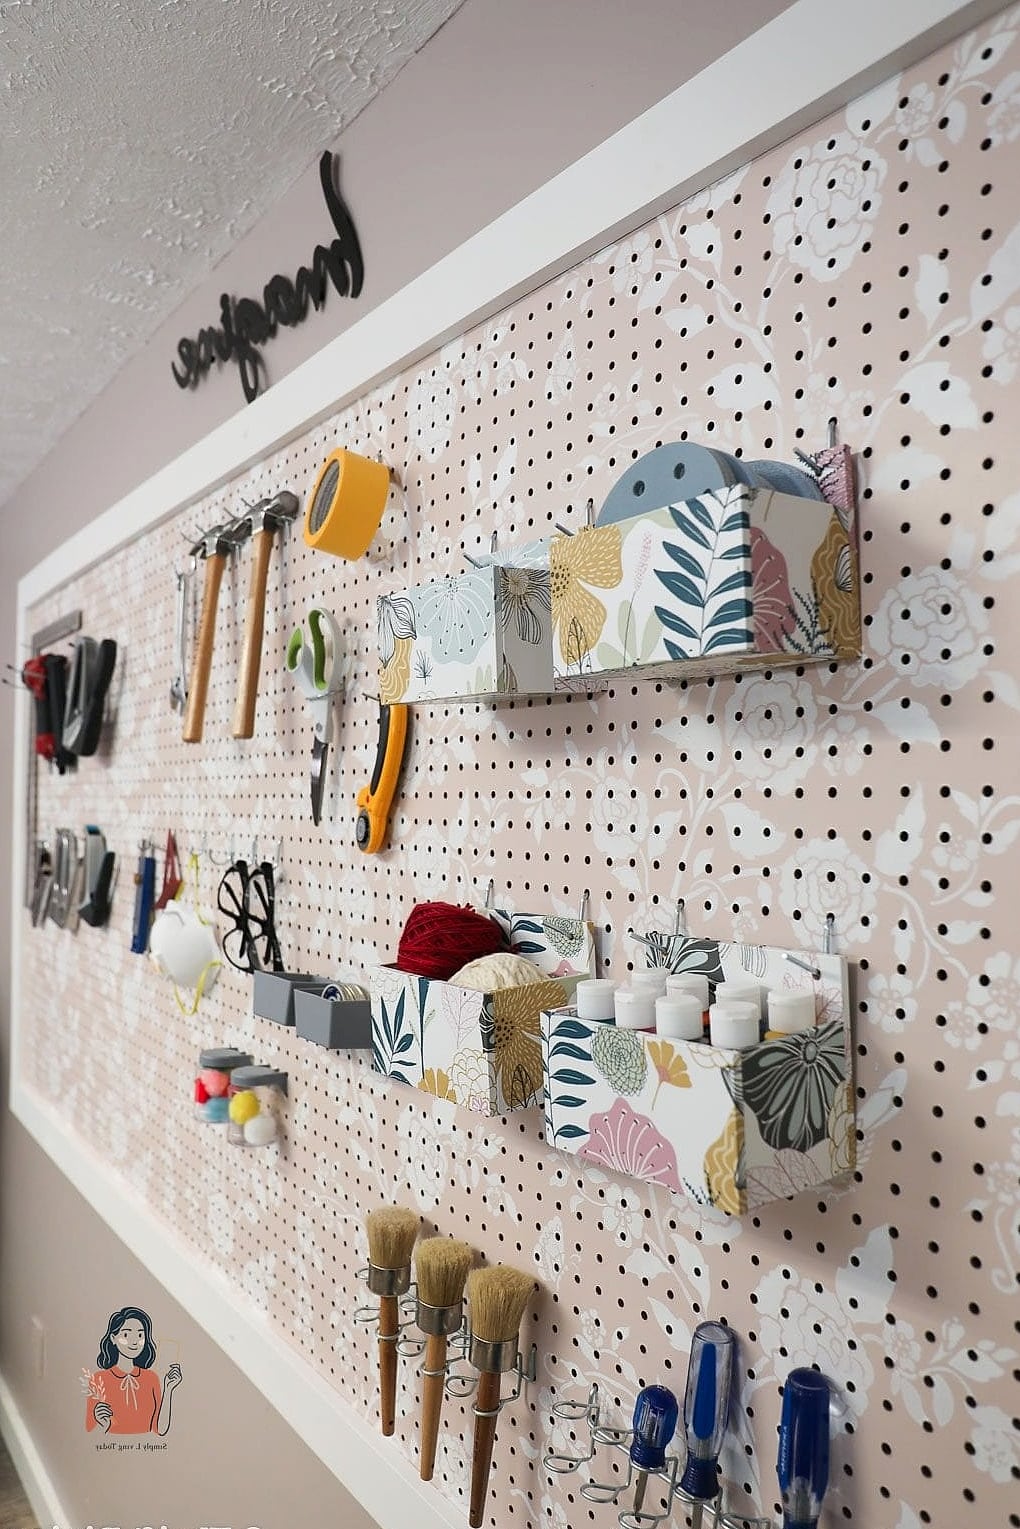
If you’re sharing a workshop or garage space with a partner, split the pegboard into two color-coded sides so each person has their own zone. This cuts down on the “who moved my tools” arguments and makes the space feel a little more personal. It’s a fun weekend project if you’re setting up a shared hobby space from scratch.
Pegboard Above a Potting Bench
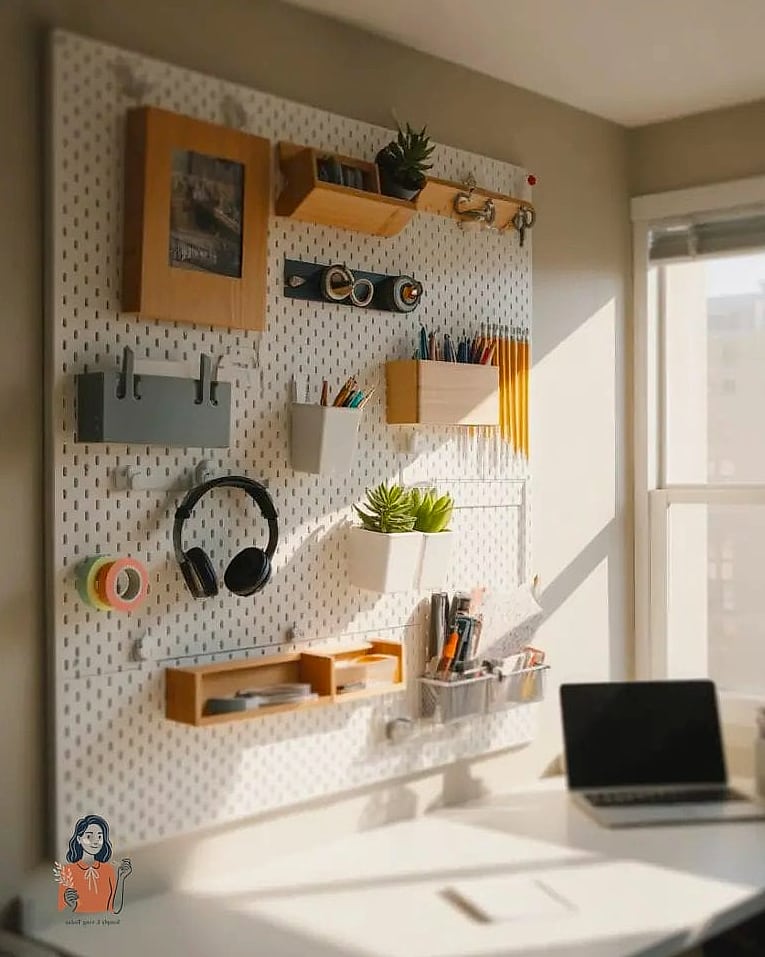
For gardeners, a pegboard mounted above a potting bench keeps trowels, gloves, pruning shears, and seed packets all within reach. Add a few small hooks for hanging watering cans and a shelf below for pots and soil bags. This setup works well in a shed, garage, or covered patio area.
Freestanding Pegboard on an A-Frame
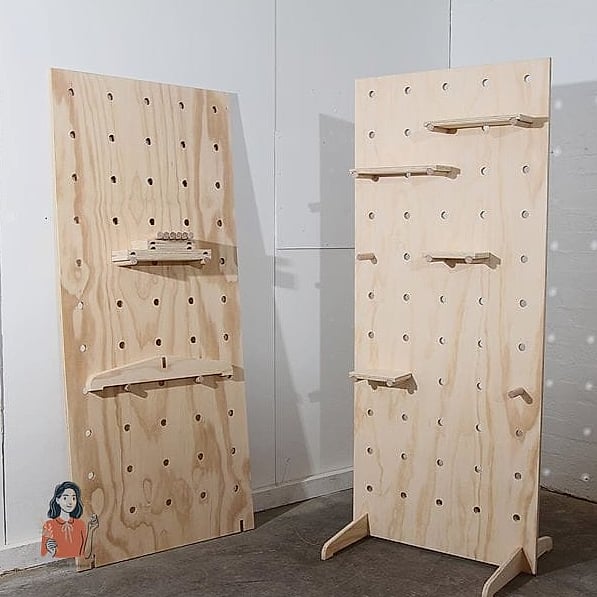
Build a simple A-frame stand with pegboard panels on both sides for a portable organizer that doesn’t require any wall mounting at all. This is perfect for renters or anyone who wants the flexibility to move their setup around. It also works well for craft fairs or garage sales if you ever need to display tools or products.
Pegboard With a Chalkboard Border

Frame your pegboard with a thin chalkboard strip so you can jot down reminders, a tool inventory, or a running to-do list right next to your workspace. This small addition makes the whole setup feel more functional, especially if you tend to forget which tools are out on loan or need replacing.
Pegboard Repurposed From an Old Shutter
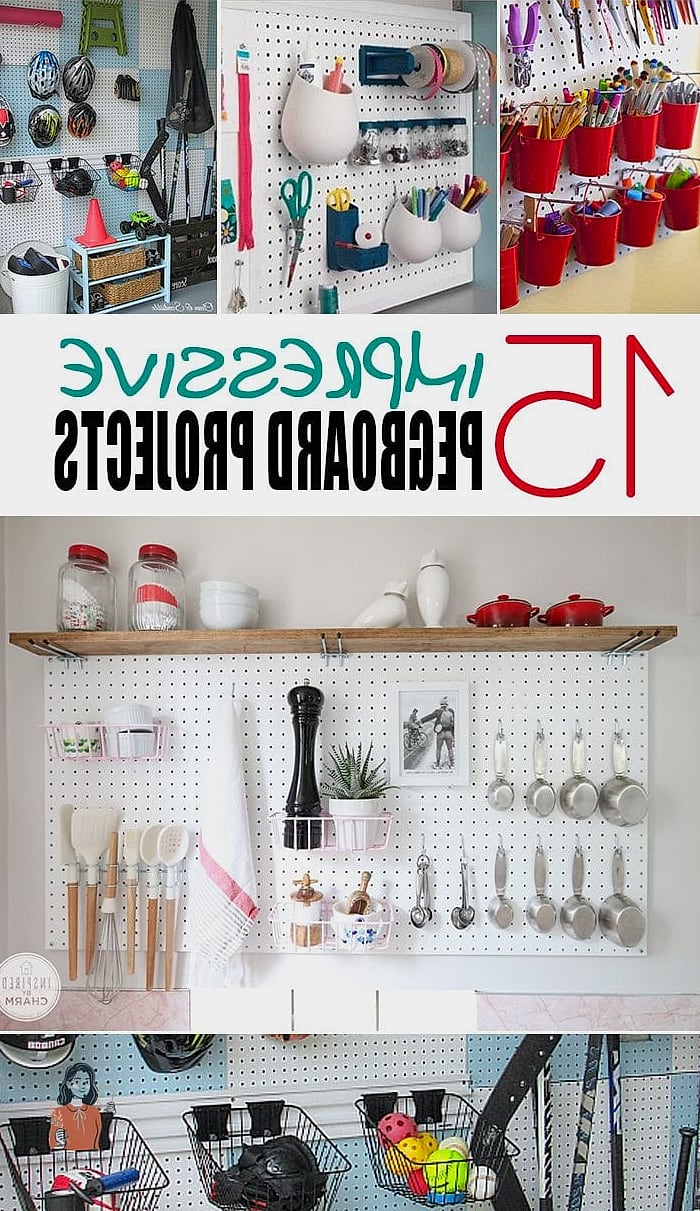
Old wooden shutters with slats can be modified into a rustic pegboard alternative using cup hooks screwed directly into the slats. This gives you a farmhouse-style look at a fraction of the cost of buying decorative pegboard. It’s a great option if you’re going for a more charming aesthetic in a she-shed or craft room rather than a strictly utilitarian garage.
Pegboard Combined With Open Shelving
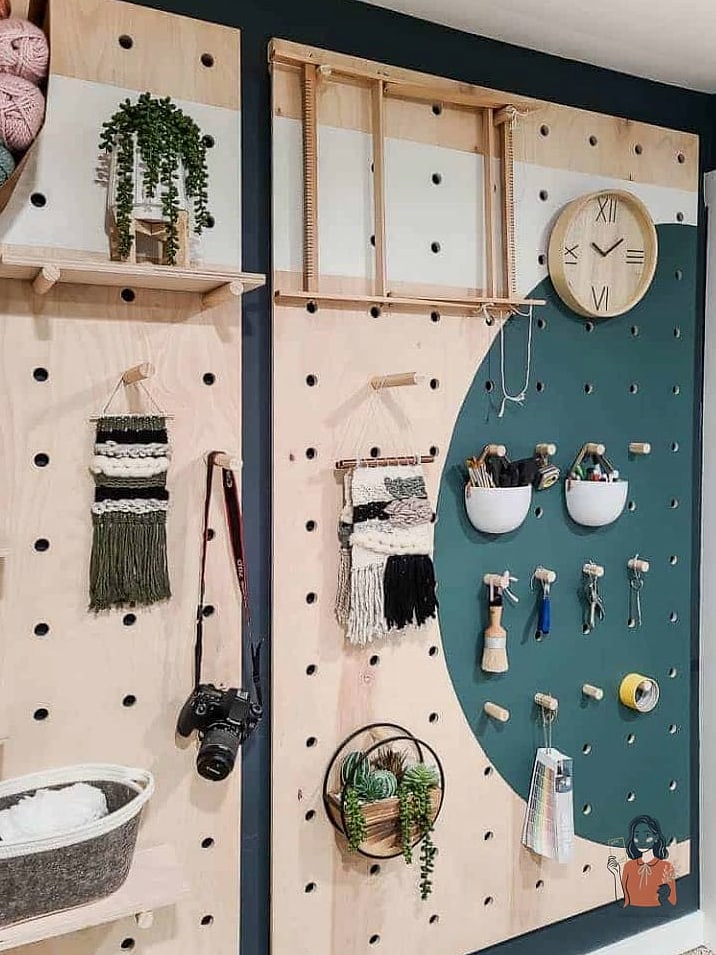
Mount a pegboard panel with a floating shelf running across the middle so you get hanging storage below and flat storage above. This hybrid setup handles both hanging tools and bulkier items like paint cans or toolboxes that don’t hang well. It’s one of the more space-efficient options if your wall is limited in height.
Mini Pegboard for a Desk or Craft Table
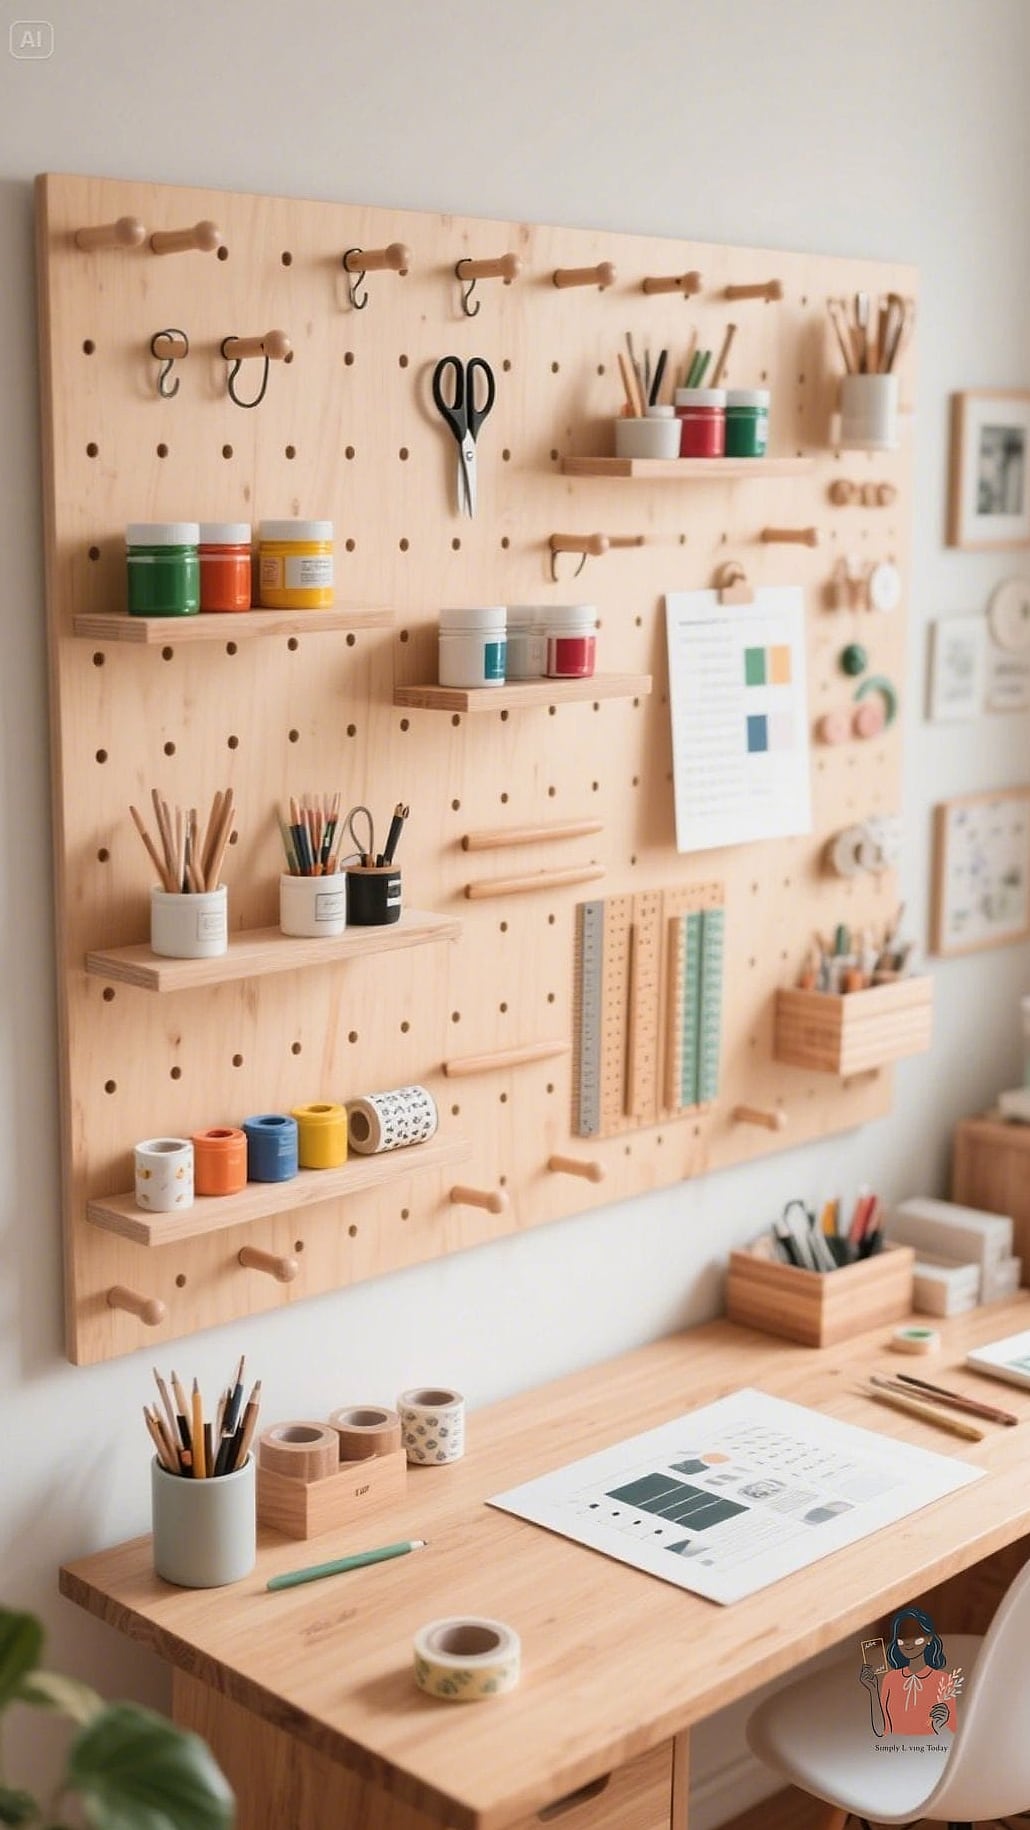
Not every project needs a full-sized panel. A small pegboard mounted above a desk or craft table keeps scissors, tape, and pens within reach without taking over the whole wall. This is a great option for a home office, sewing room, or kids’ craft corner where a garage-sized board would feel like overkill.
Getting a pegboard set up doesn’t have to be a big production. Most of these ideas can be done in an afternoon with basic hardware store supplies, and you can always start small and add sections as you figure out what actually works for your space and your tools. The best layout is the one you’ll actually keep organized, so don’t be afraid to rearrange hooks and bins until it feels right for how you really work.