29 Life-changing Sewing Room Organization to Try This Weekend
- Sort Fabric by Color First
- Use Clear Bins for Notions
- Create a Cutting Station
- Hang a Pegboard Above Your Machine
- Store Thread on a Wall Rack
- Set Up a Rolling Cart for Supplies
- Label Every Fabric Bin
- Use a Pattern Binder
- Install Floating Shelves for Fabric Bolts
- Create a Scrap Fabric Zone
- Use Drawer Dividers for Small Tools
- Store Bobbins in a Labeled Case
- Add a Design Wall
- Keep an Ironing Station Nearby
- Use Mason Jars for Small Notions
- Store Fabric Vertically, Not Stacked
- Set Up a Ribbon and Trim Organizer
- Create a Project Basket System
- Add Under-Table Storage Bins
- Use a Magnetic Strip for Pins and Needles
- Organize Patterns by Category
- Install a Corkboard for Inspiration
- Store Extra Machine Feet in a Labeled Box
- Use a Rolling Thread Cart
- Create a Zipper and Elastic Drawer
- Add a Chalkboard Label System
- Use a Tension Rod for Fabric Bolts
- Store Patterns Digitally When Possible
- Add a Small Trash and Scrap Bin Combo
- End With a Weekly Reset Habit
Thought for 4s
29 Life-changing Sewing Room Organization to Try This Weekend
If your sewing space has slowly turned into a pile of fabric scraps, tangled thread, and mystery bobbins, you are definitely not alone. A cluttered sewing room doesn’t just look messy — it actually slows you down every time you sit to create. The good news is that you don’t need a full renovation to fix it. With a weekend and a little intention, you can turn your space into somewhere you actually want to spend time. Here are 29 practical, doable ideas to get you there.
Sort Fabric by Color First
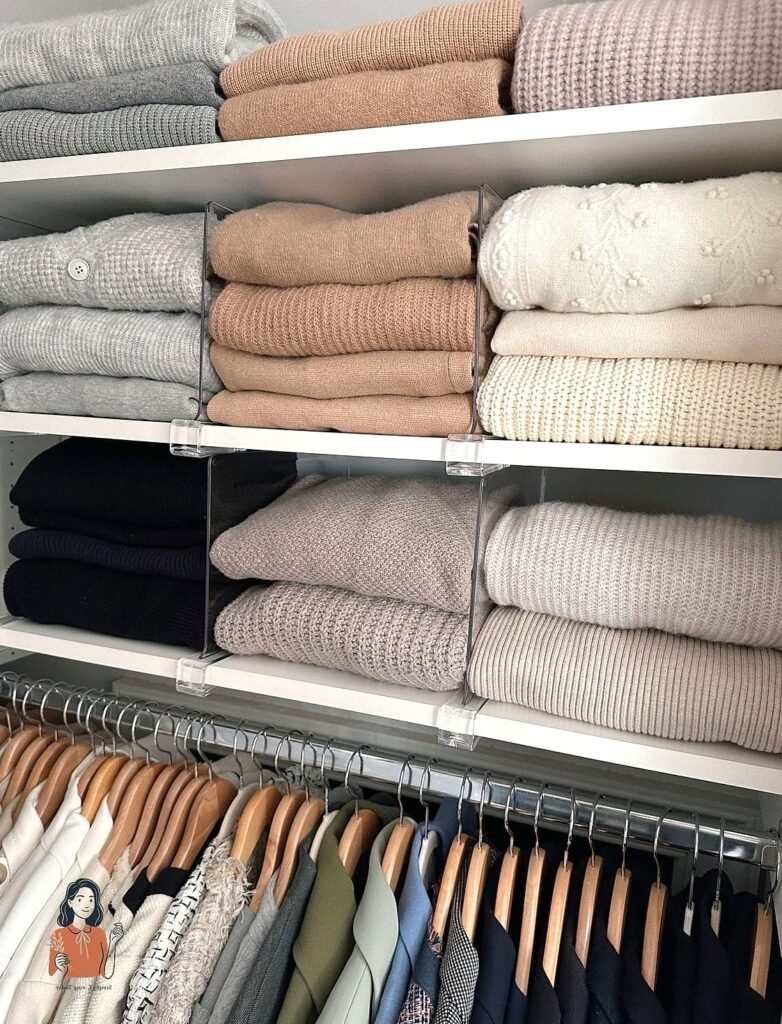
Before anything else, pull every piece of fabric out and sort by color rather than type. This makes it so much easier to spot what you have when you’re planning a project, and it turns your stash into something that actually looks intentional on a shelf.
Use Clear Bins for Notions
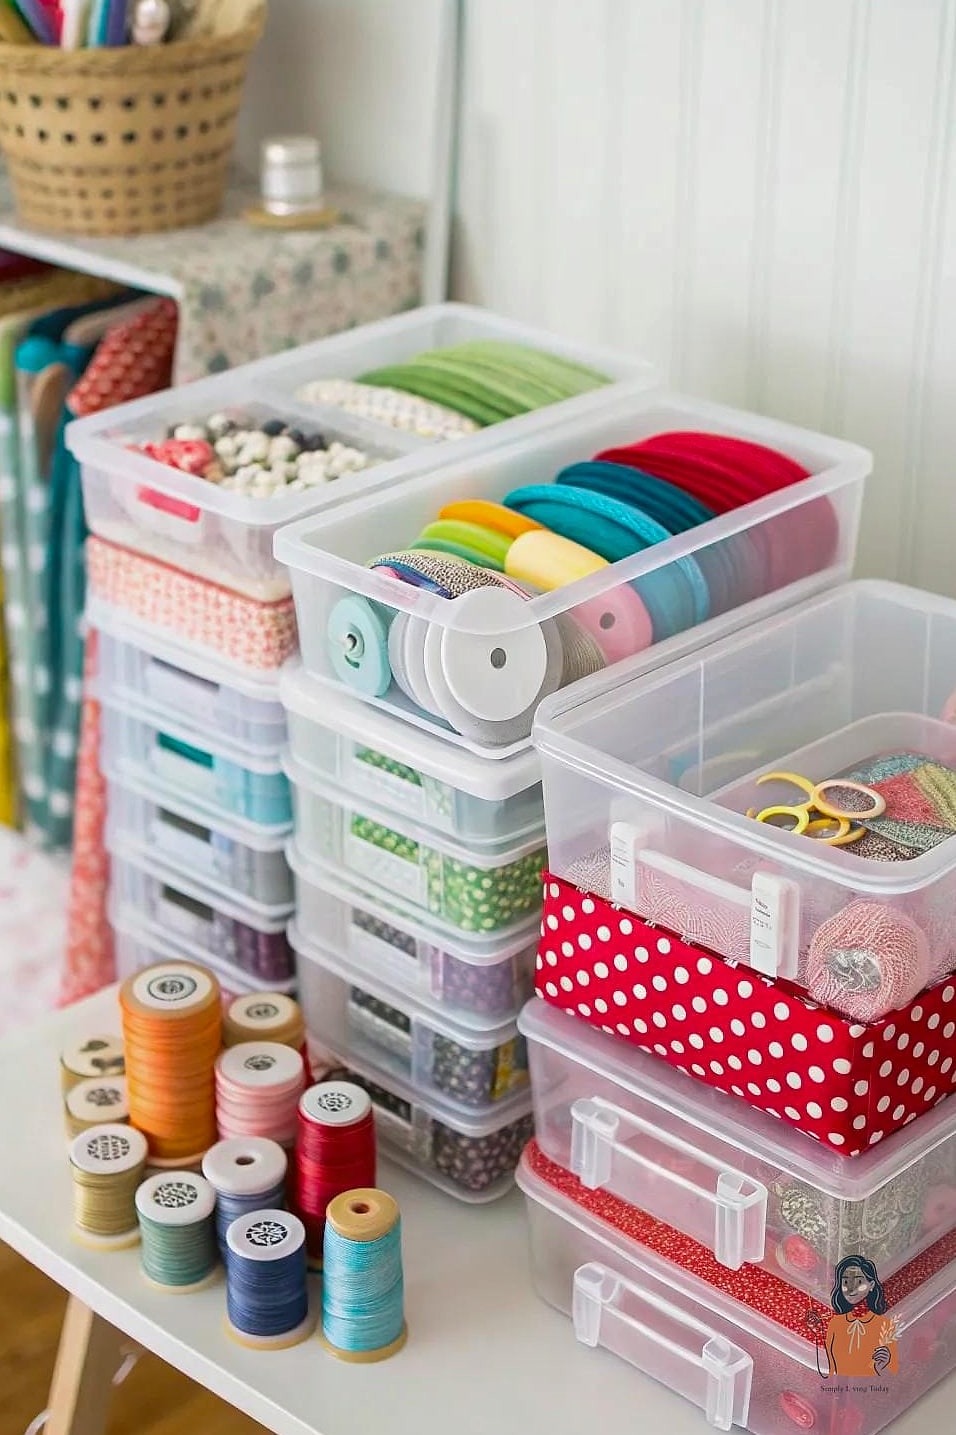
Swap out mismatched containers for clear plastic bins so you can see buttons, zippers, and elastic at a glance. Label each one simply, and stack them on a shelf near your machine so nothing gets buried again.
Create a Cutting Station
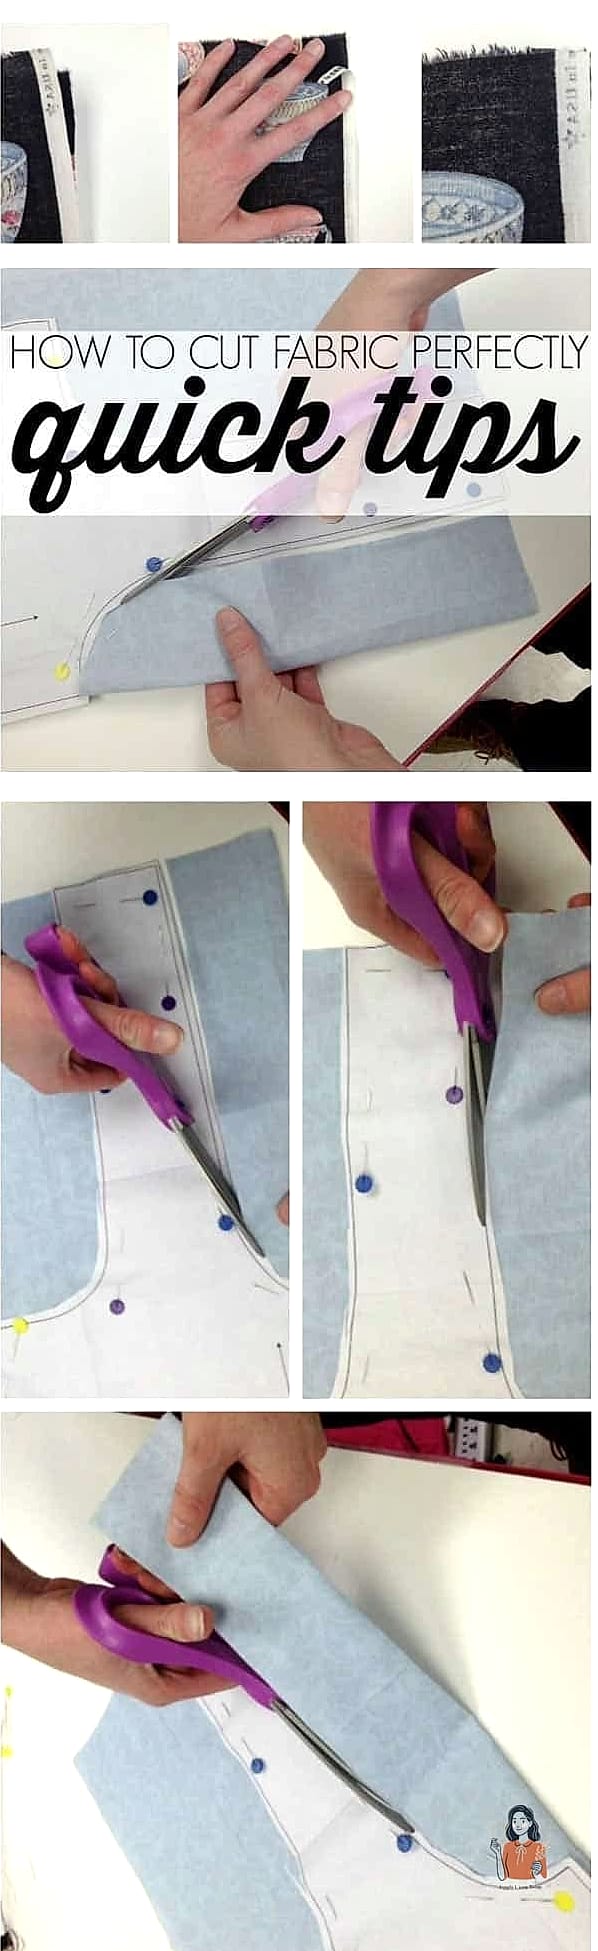
Dedicate one surface entirely to cutting — even a fold-out table against a wall works. Keep your rotary cutter, mat, and rulers stored right underneath it so you’re not hunting for tools mid-project.
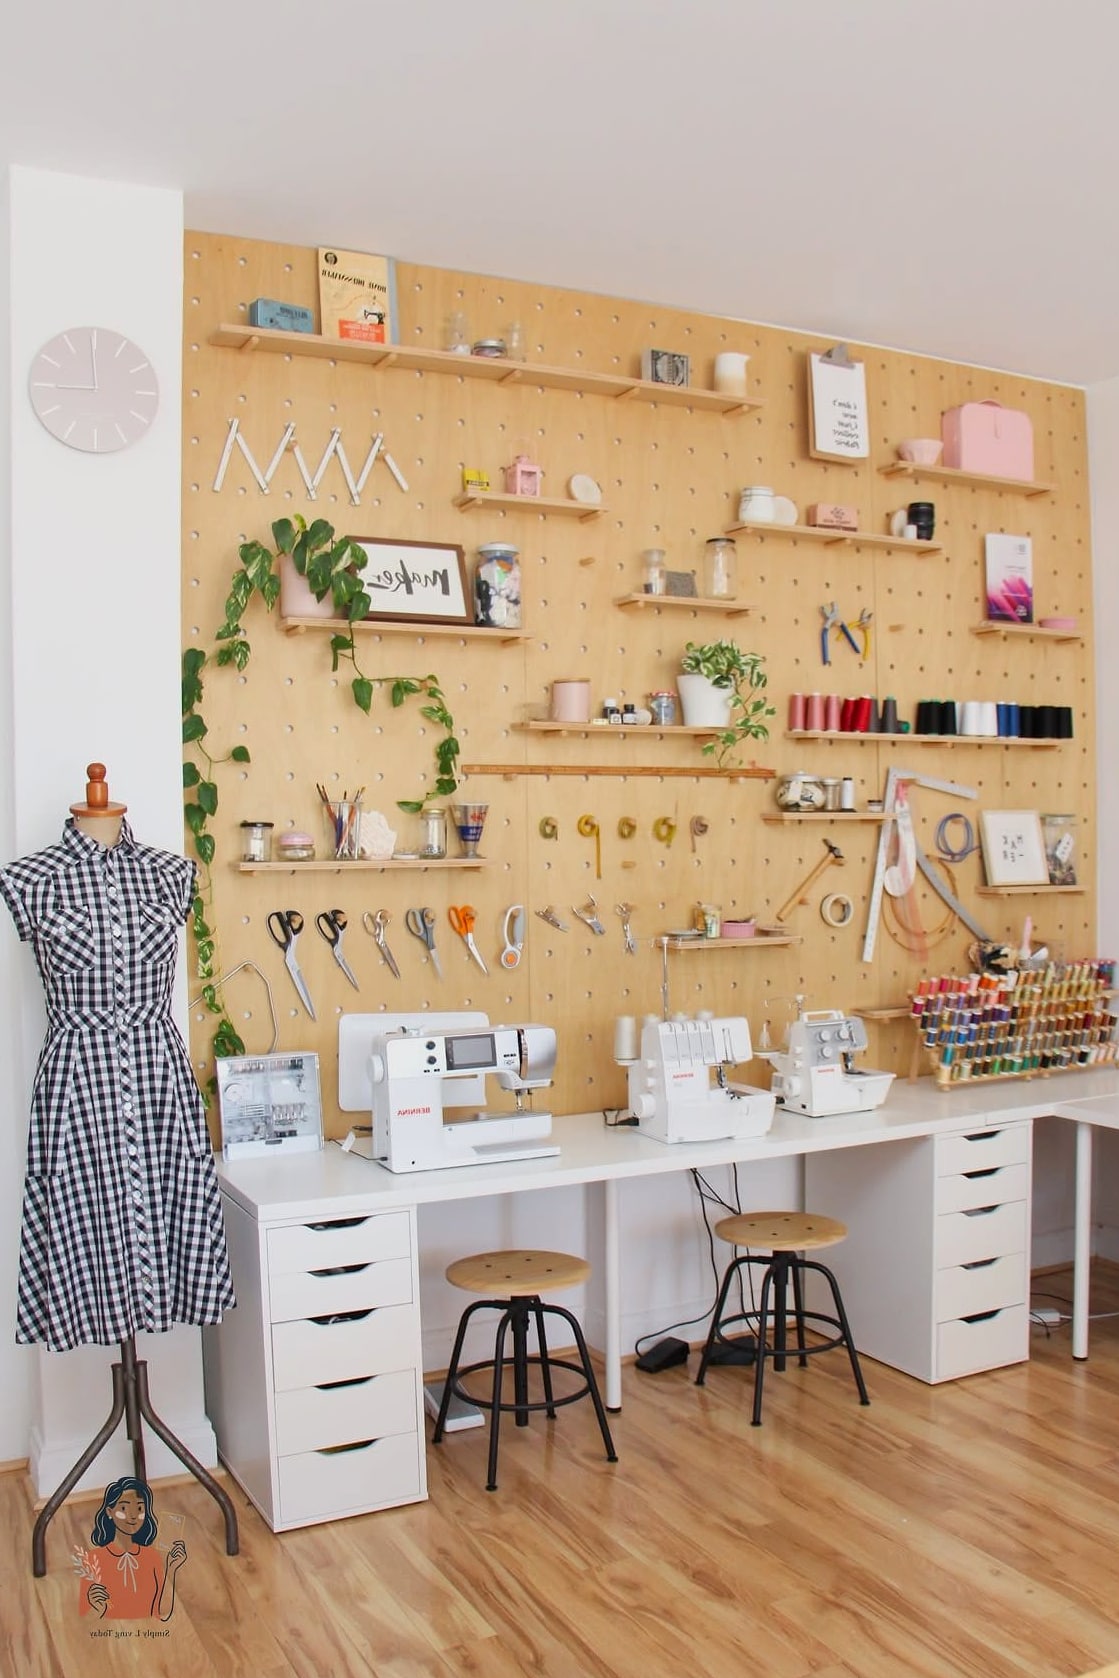
Hang a Pegboard Above Your Machine
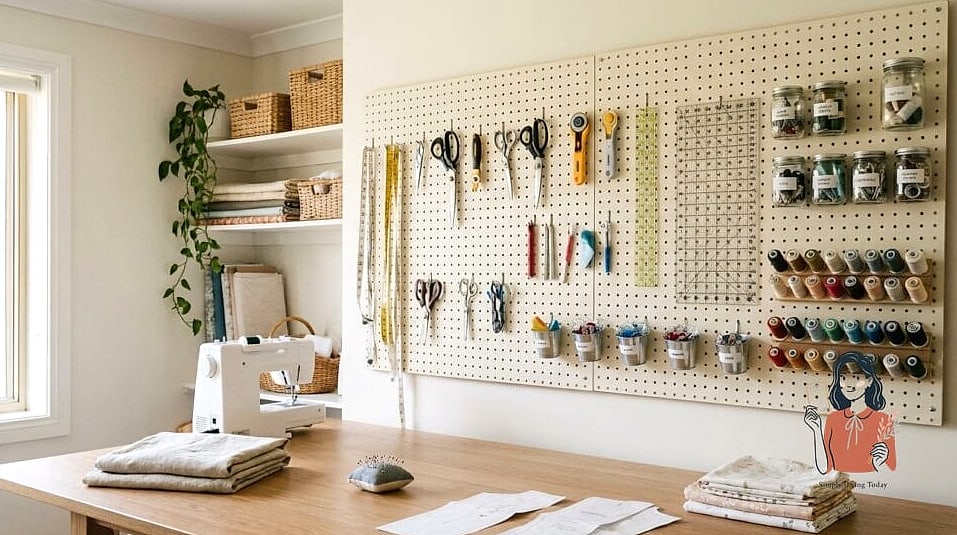
A pegboard is one of the most flexible organizing tools for a sewing room. Hang scissors, tape measures, and small tool baskets so everything is visible and within arm’s reach while you sew.
Store Thread on a Wall Rack
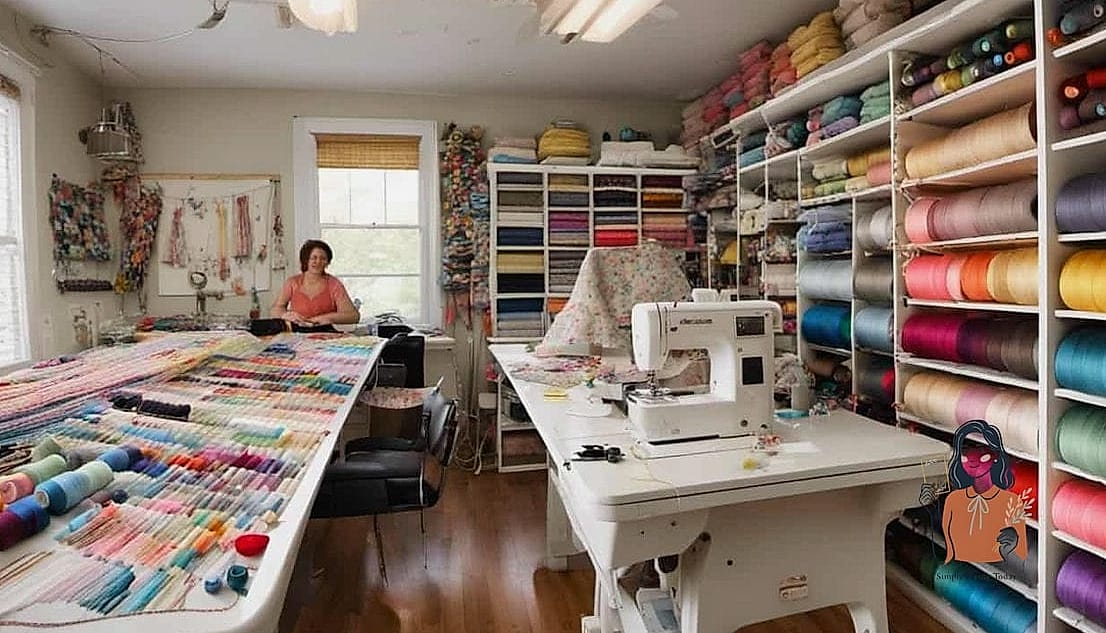
Loose spools in a drawer are a headache. A simple wall-mounted thread rack keeps colors visible and prevents tangling, and it doubles as a pretty, colorful accent on an otherwise plain wall.
Set Up a Rolling Cart for Supplies
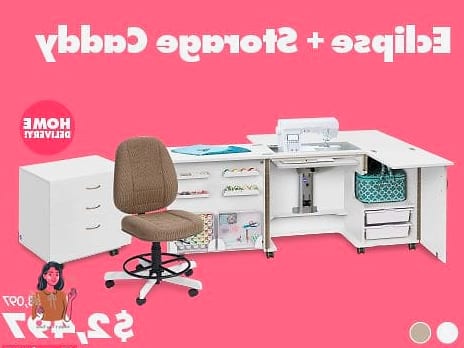
A small rolling cart with drawers gives you mobile storage that can travel between your cutting table and machine. It’s especially useful in smaller rooms where a fixed station isn’t practical.
Label Every Fabric Bin
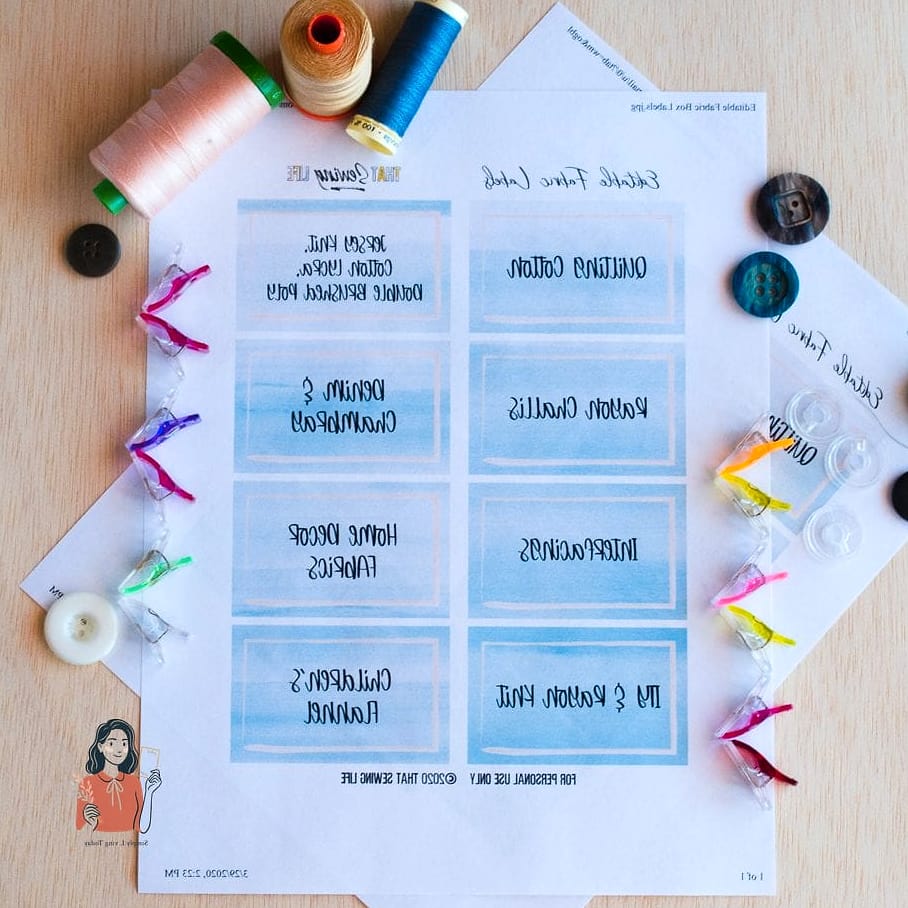
Even simple handwritten labels save time. Whether you sort by fabric type, project, or color, labeling means you’re not opening five bins to find the linen you know you bought last spring.
Use a Pattern Binder
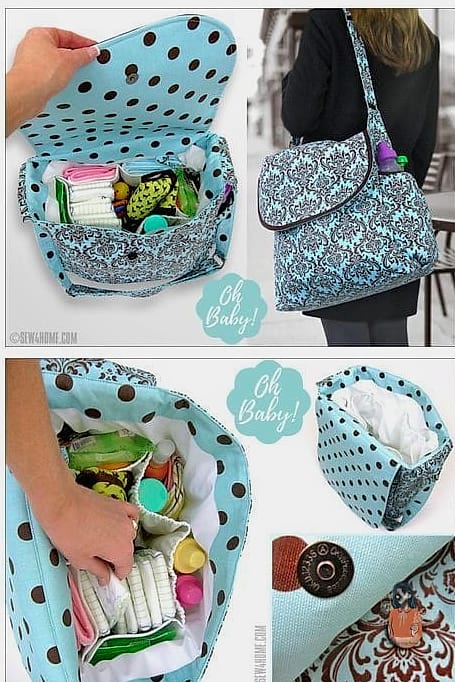
Keep tissue patterns organized in labeled envelopes inside a binder with plastic sleeves. This protects delicate pattern pieces and makes flipping through your collection far easier than digging through a drawer.
Install Floating Shelves for Fabric Bolts
If you work with larger fabric cuts, floating shelves let you display them upright like a fabric shop. It looks visually satisfying and keeps yardage from getting crushed at the bottom of a bin.
Create a Scrap Fabric Zone
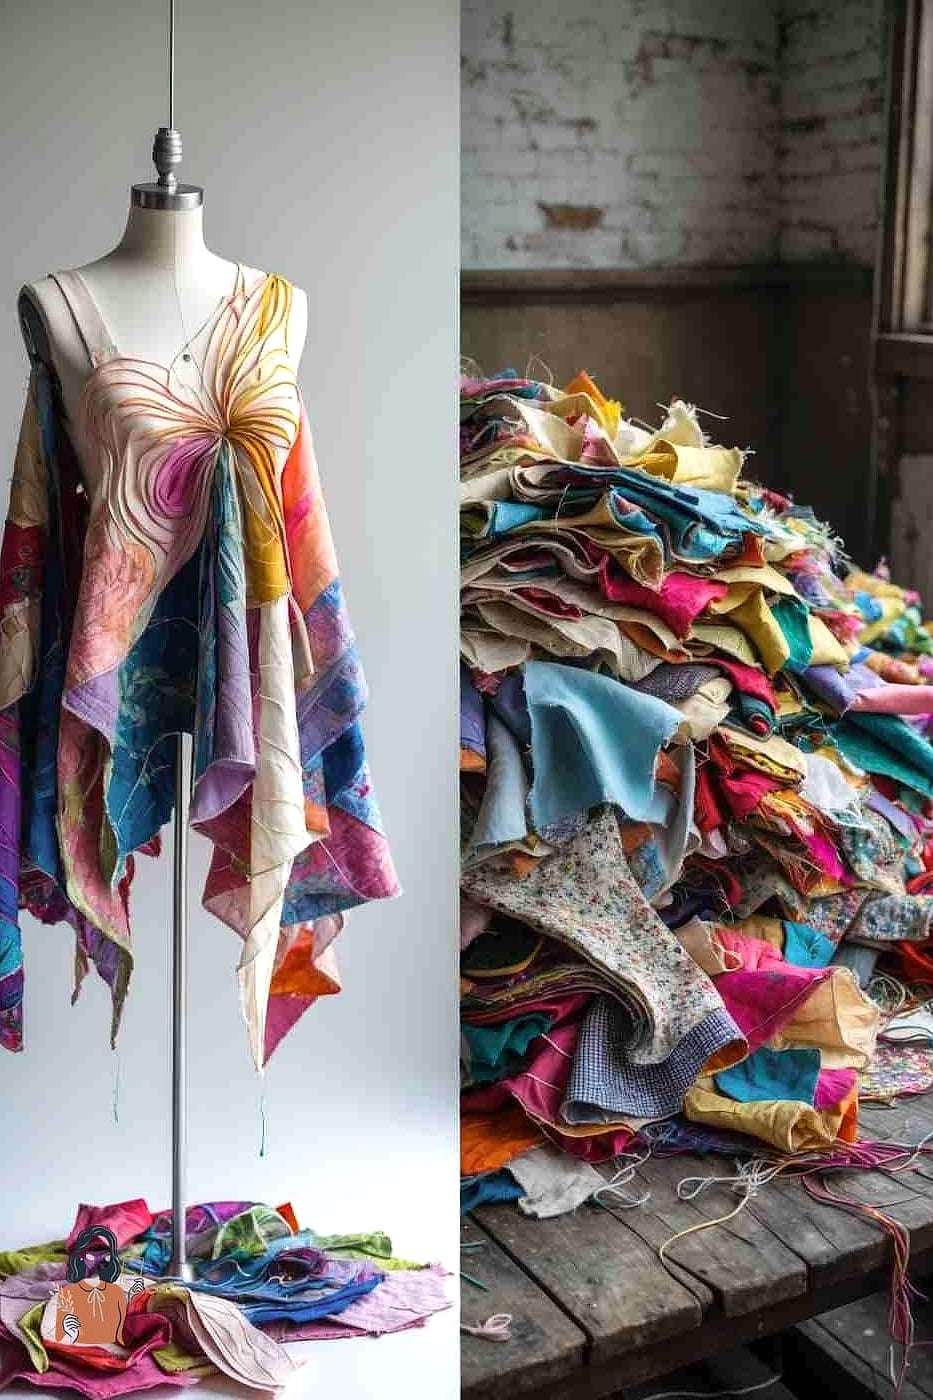
Instead of tossing scraps randomly into a bin, sort them by size — small pieces for appliqué, larger pieces for patchwork. A designated scrap zone keeps this useful material from becoming clutter.
Use Drawer Dividers for Small Tools
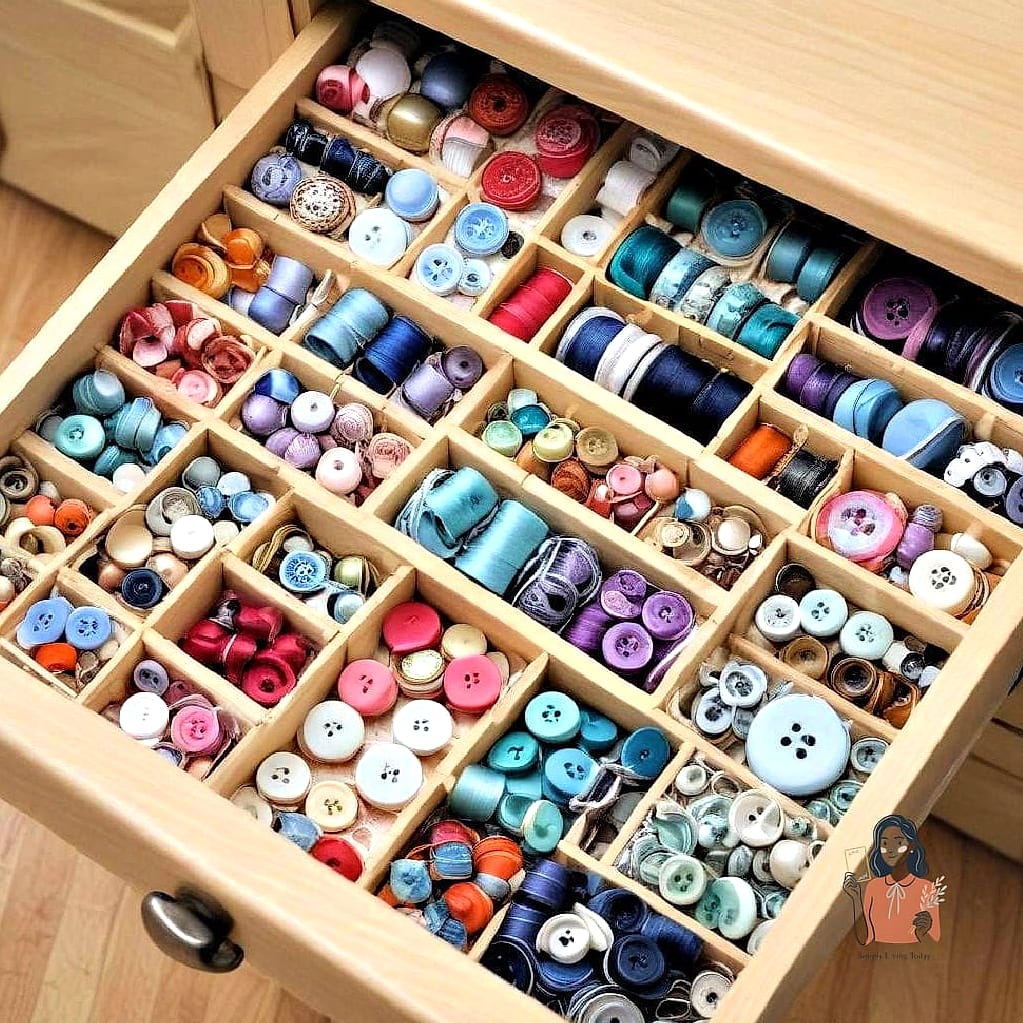
Pins, seam rippers, and marking pens tend to slide around and disappear in a drawer. Simple dividers keep each tool in its own spot so you’re not digging through a junk drawer mid-project.
Store Bobbins in a Labeled Case
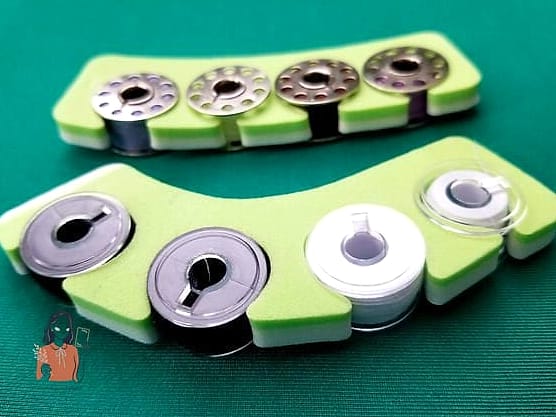
A small case with individual compartments keeps bobbins matched to thread colors and prevents the classic tangled-bobbin mess. Look for one with a clear lid so you can see contents without opening it.
Add a Design Wall
A design wall made from a foam insulation board covered in flannel gives you a spot to lay out quilt blocks or garment pieces before sewing. It’s especially helpful for visual planners.
Keep an Ironing Station Nearby
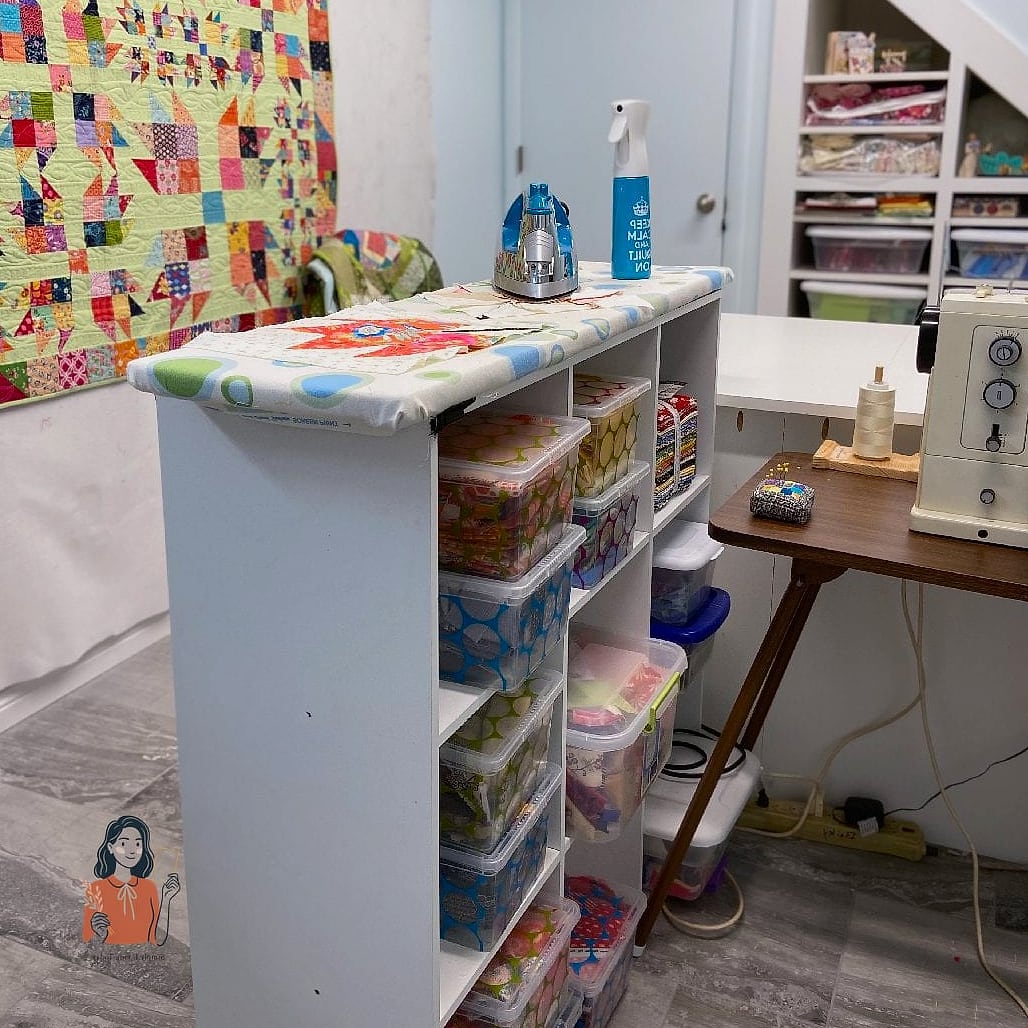
Position a small ironing board or pressing mat within a few steps of your machine. Constant back-and-forth to a far-off ironing board is one of the biggest time drains in a sewing routine.
Use Mason Jars for Small Notions
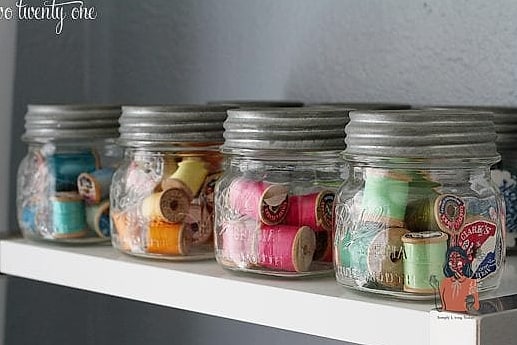
Buttons, safety pins, and snaps look surprisingly charming in labeled mason jars on open shelving. It’s an affordable option that also makes your supplies easy to grab without rifling through bags.
Store Fabric Vertically, Not Stacked
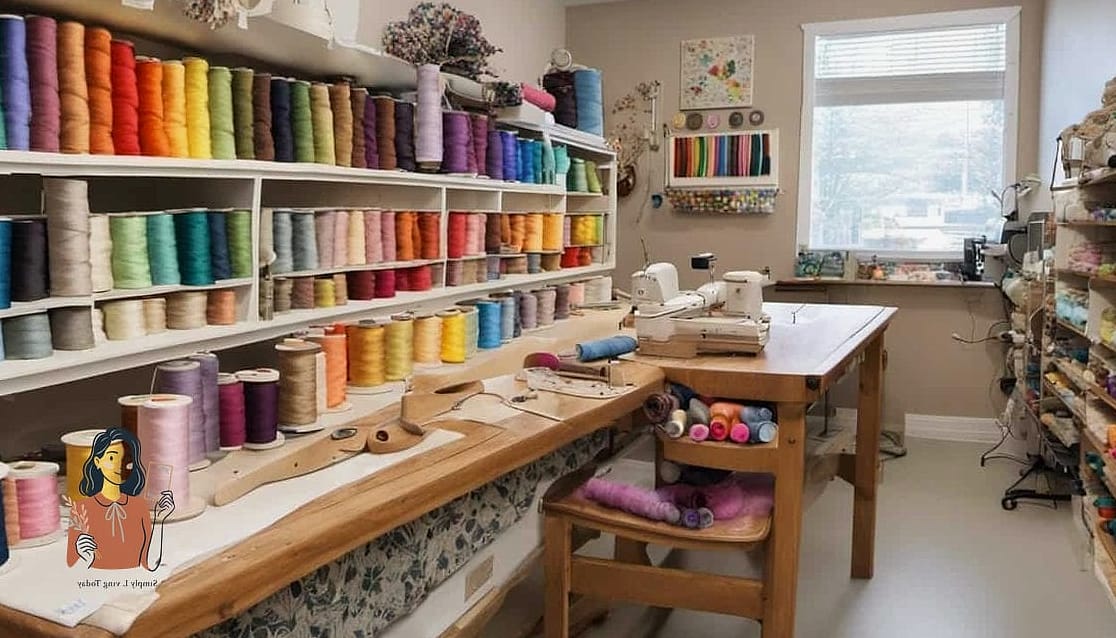
Filing fabric vertically like folders, rather than stacking it flat, prevents you from having to unstack an entire pile just to find one print. It also keeps wrinkling to a minimum.
Set Up a Ribbon and Trim Organizer
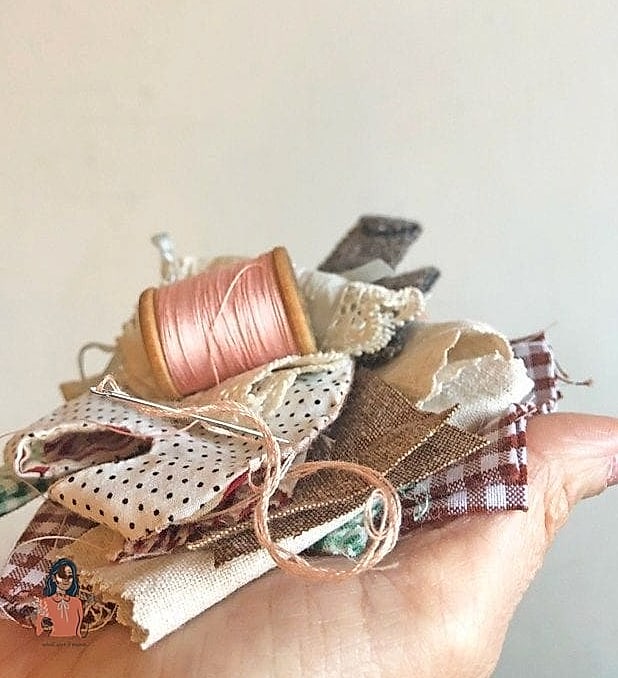
A wall-mounted dowel rod or repurposed paper towel holder keeps ribbon spools tidy and prevents unraveling. This is a small detail that makes a noticeable difference in day-to-day tidiness.
Create a Project Basket System
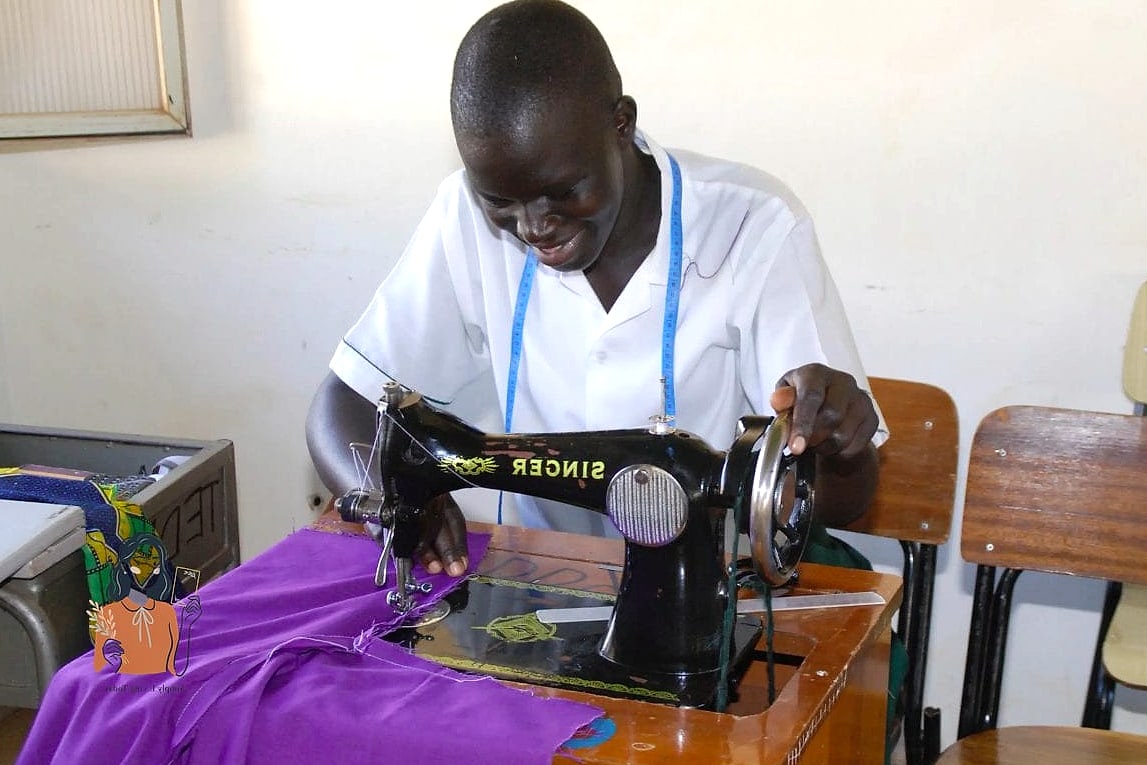
Give each in-progress project its own labeled basket or bag with the fabric, pattern, and notions together. This is a lifesaver if you tend to work on multiple projects at once.
Add Under-Table Storage Bins
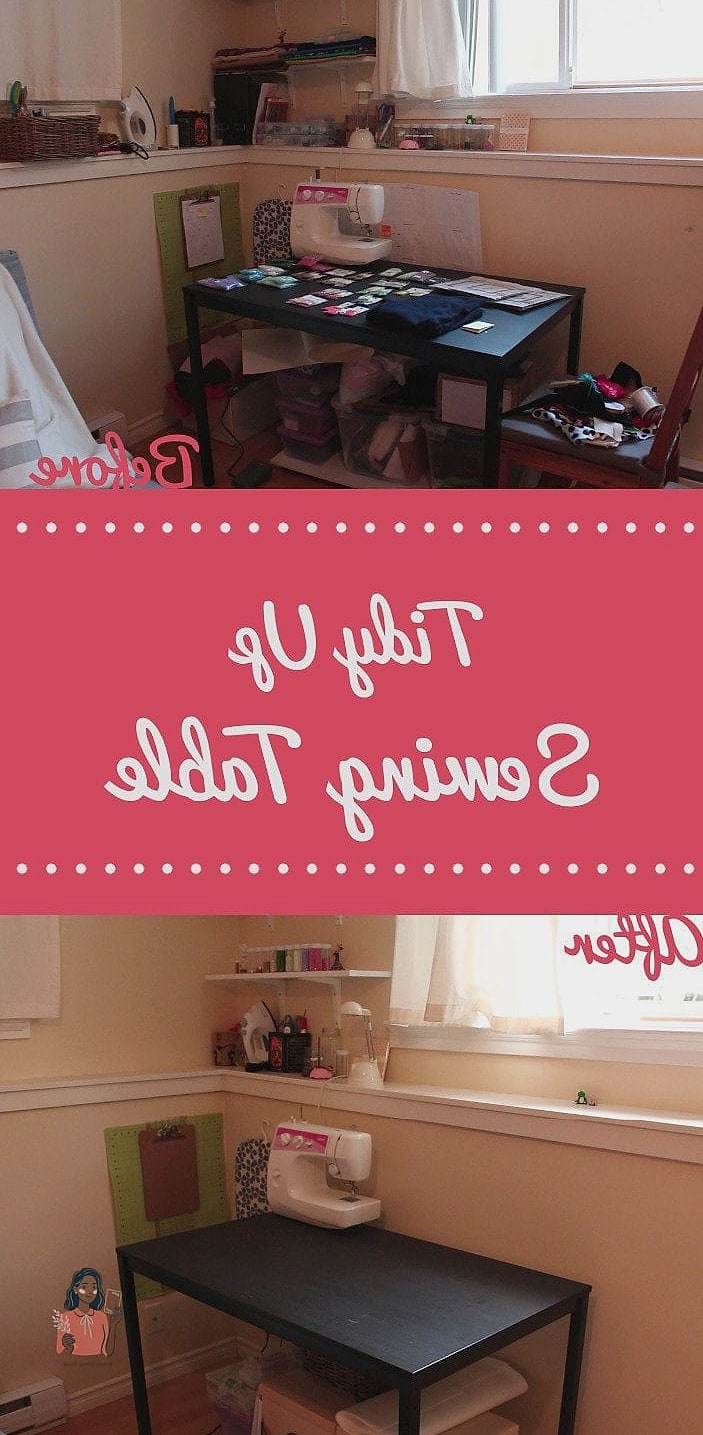
Use the space under your cutting or sewing table for stackable bins. This reclaims otherwise wasted square footage, which matters most in smaller rooms or shared craft spaces.
Use a Magnetic Strip for Pins and Needles
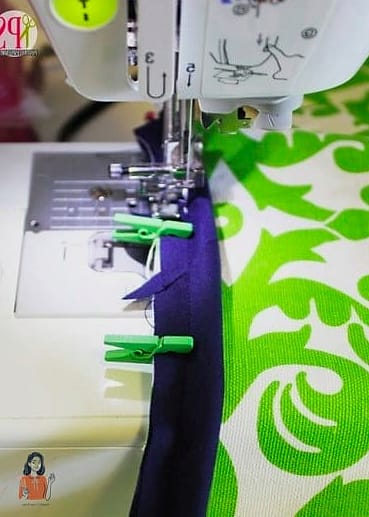
Mount a magnetic strip near your machine to hold loose pins and needles safely off the floor and away from little hands or pets. It also makes cleanup after a project much faster.
Organize Patterns by Category
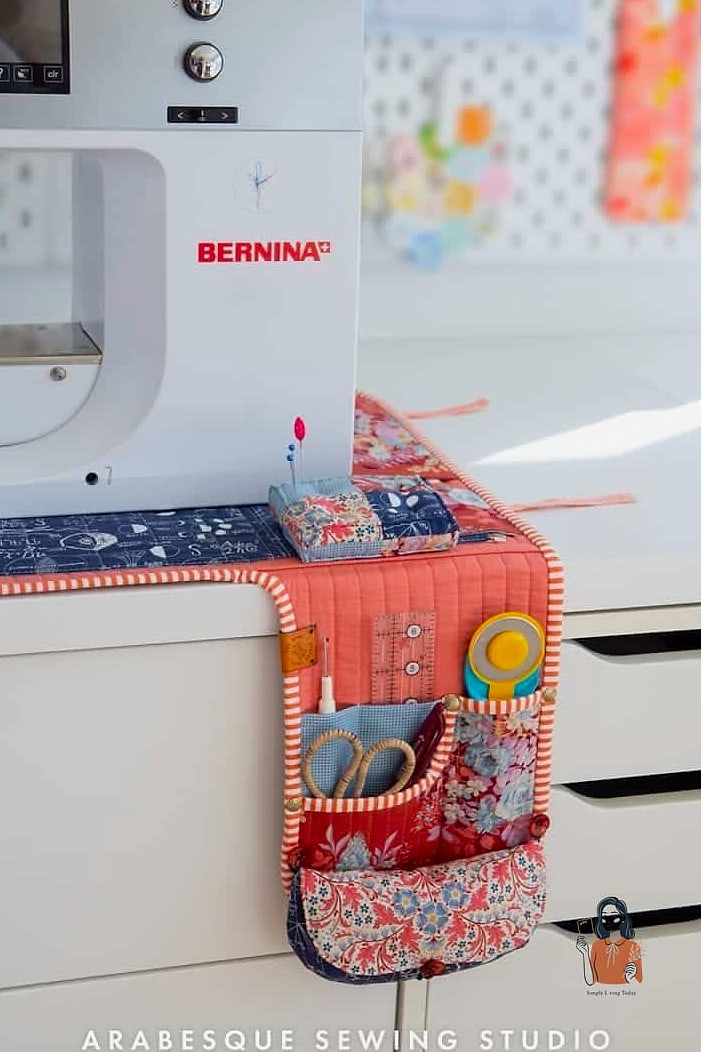
Sort sewing patterns into categories like garments, home decor, and accessories rather than keeping them in one giant pile. This makes future project planning noticeably less overwhelming.
Install a Corkboard for Inspiration
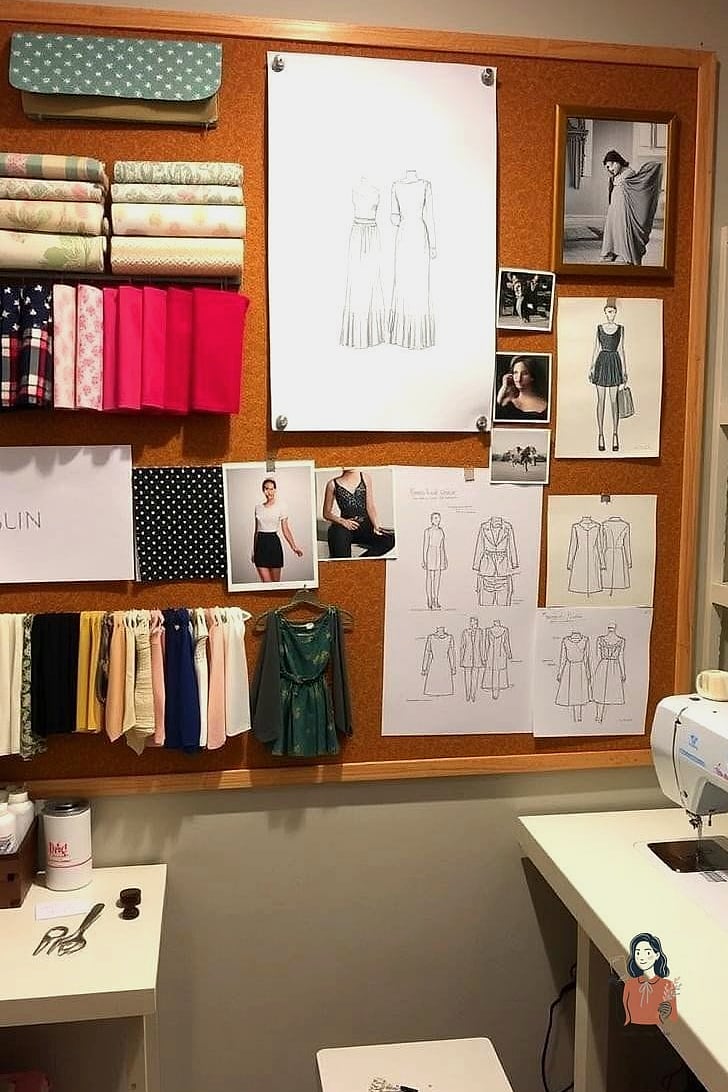
A corkboard near your workspace is a simple way to keep fabric swatches, pattern ideas, and sketches visible. It also keeps loose paper clutter from taking over your table.
Store Extra Machine Feet in a Labeled Box
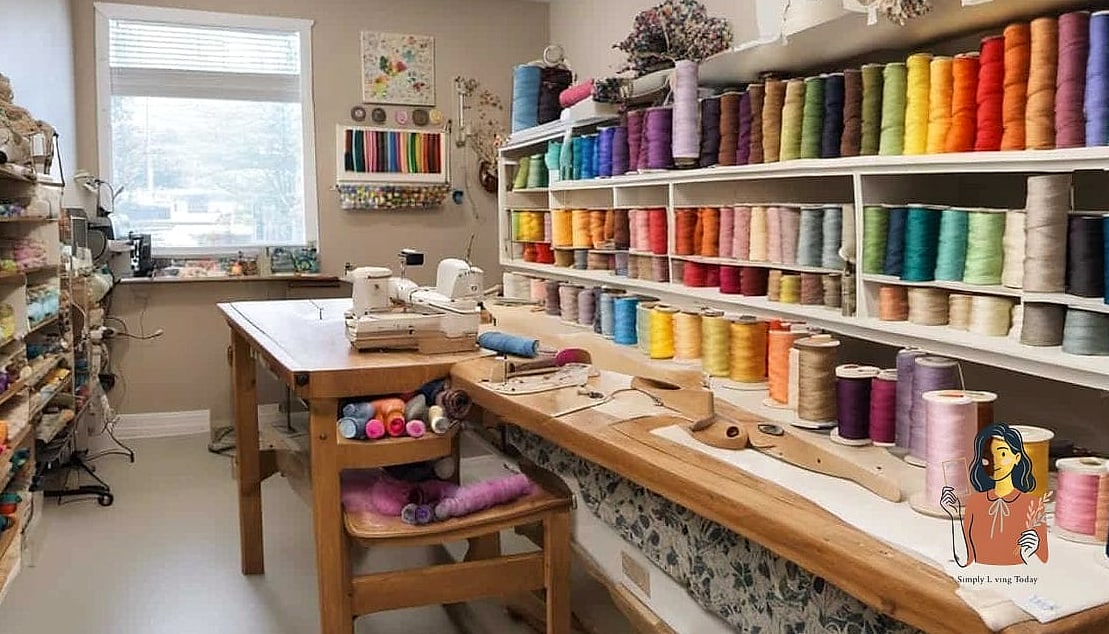
Specialty presser feet tend to get lost in random drawers. A small labeled box keeps them together so you’re not searching every time a pattern calls for a specific foot.
Use a Rolling Thread Cart

If your thread collection has outgrown a wall rack, a rolling cart with multiple tiers keeps everything mobile and easy to access from different parts of the room.
Create a Zipper and Elastic Drawer
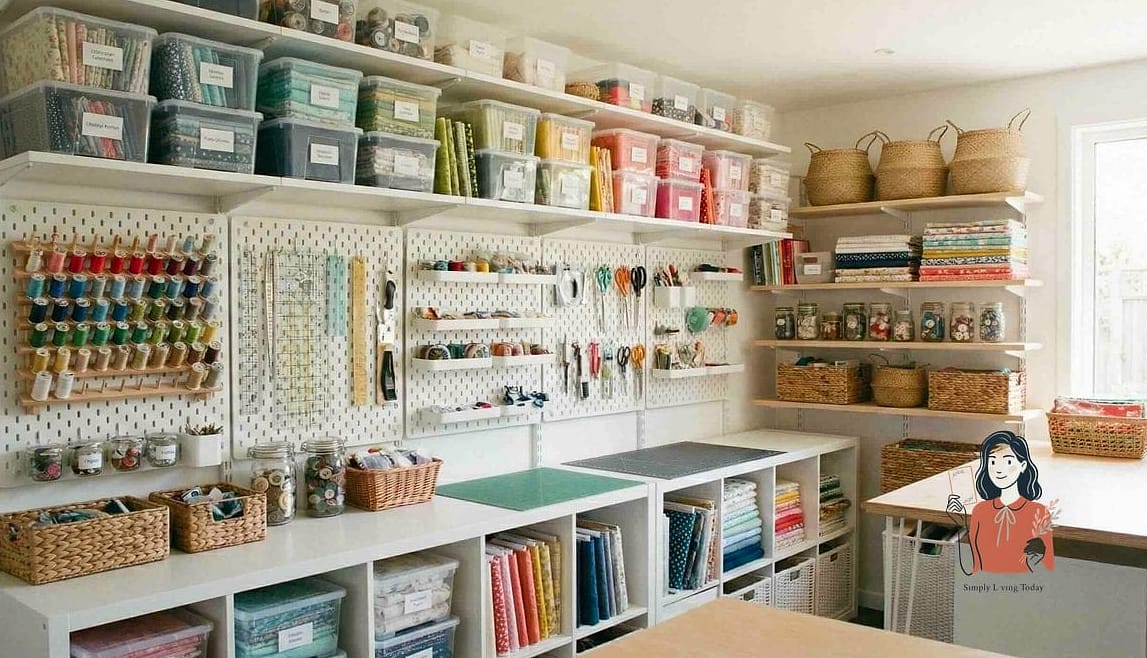
Keep zippers coiled and elastic rolled into a single labeled drawer, sorted loosely by length or width. This tiny step prevents one of the most common tangled-mess situations in a sewing space.
Add a Chalkboard Label System
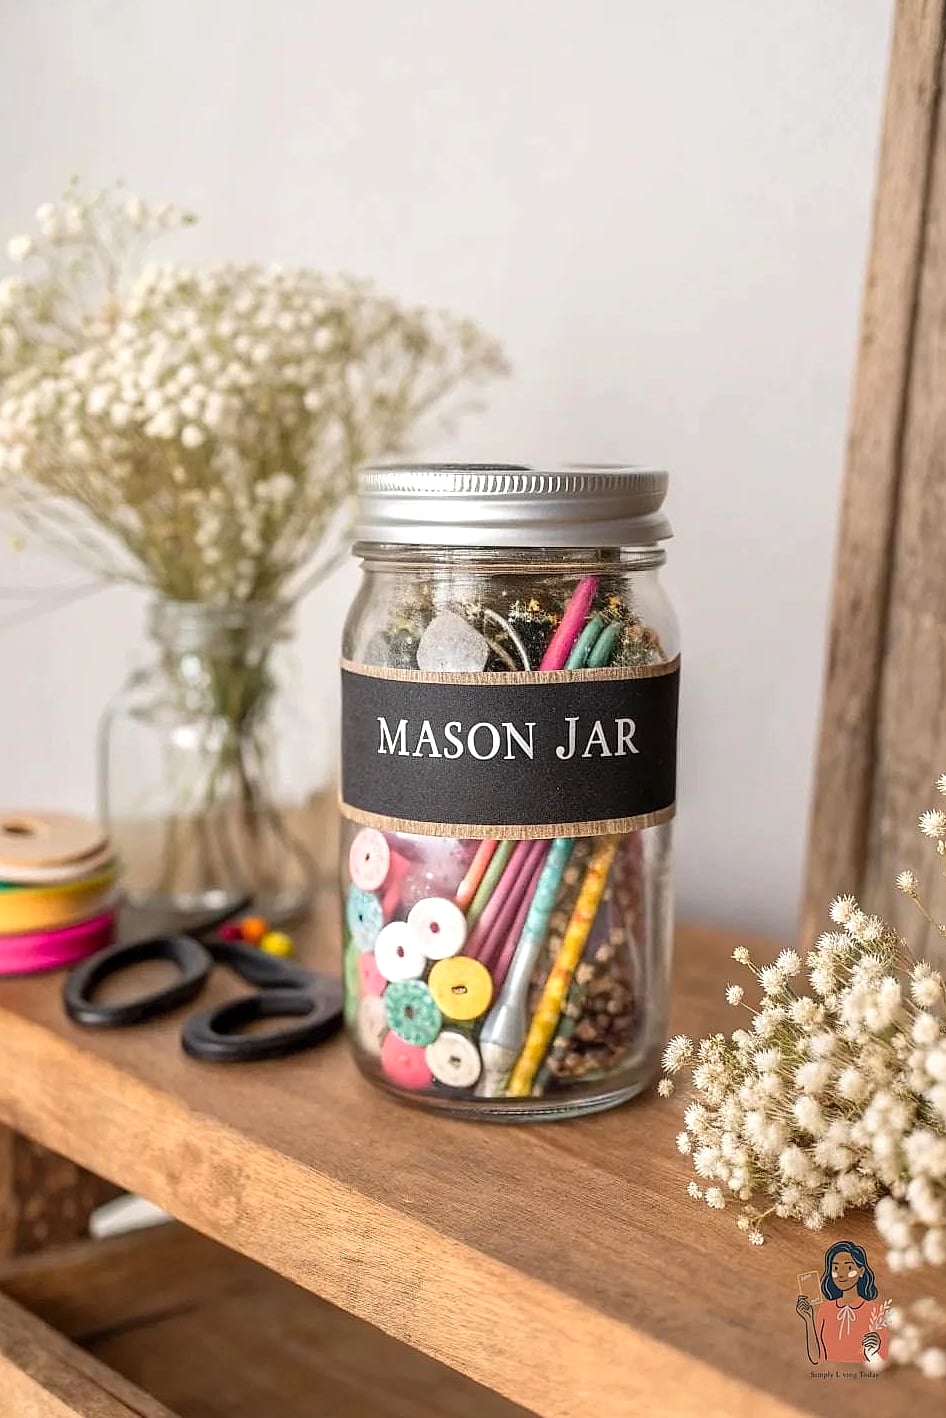
Chalkboard labels on bins let you update contents as your projects and stash change, which is especially handy if your fabric collection shifts with the seasons or your current interests.
Use a Tension Rod for Fabric Bolts
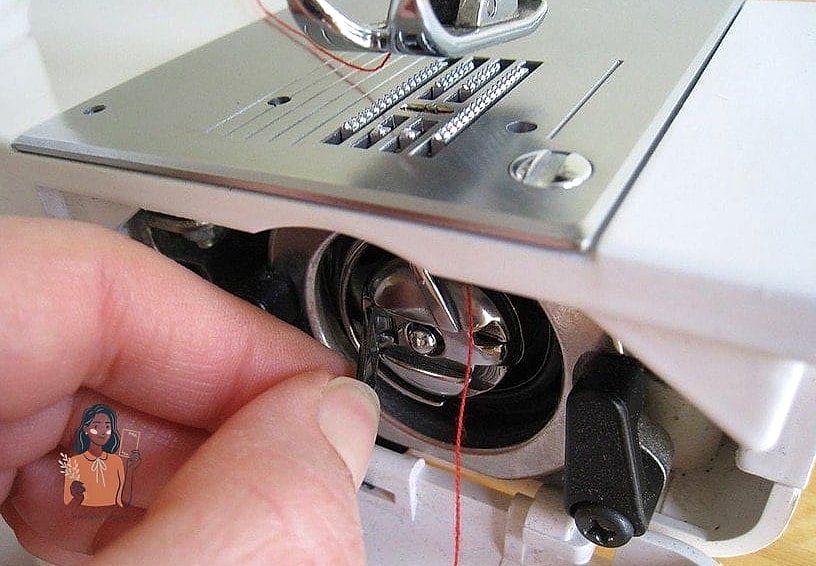
A tension rod mounted inside a closet or cabinet can hold fabric bolts upright, similar to a fabric store display. It’s an easy weekend project that makes a big visual difference.
Store Patterns Digitally When Possible
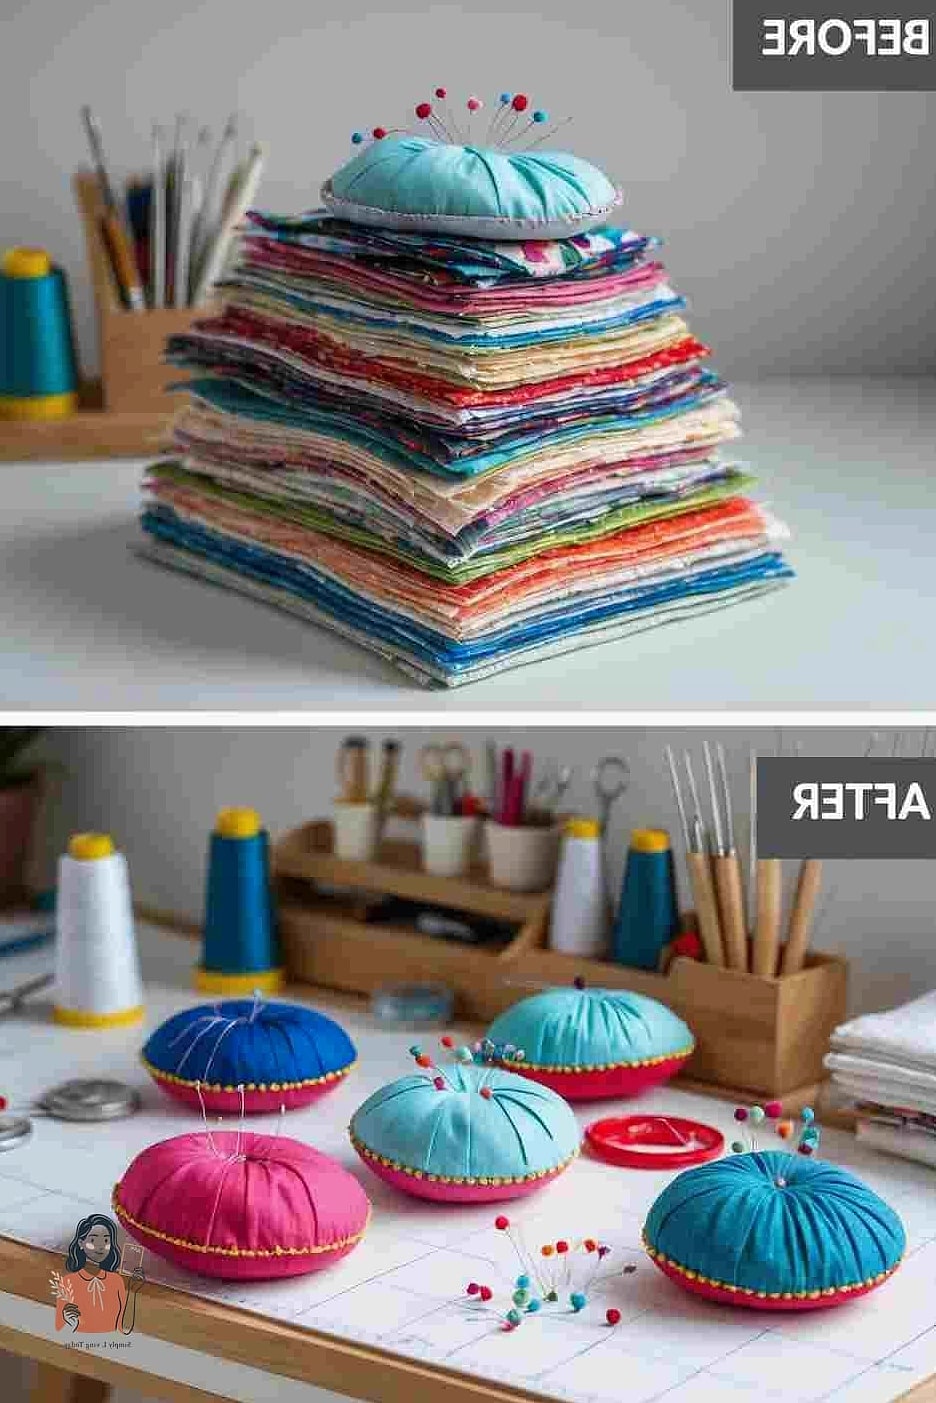
For frequently used or downloadable patterns, save digital copies in labeled folders on your computer or tablet. This cuts down on paper clutter and makes reprinting a worn-out pattern painless.
Add a Small Trash and Scrap Bin Combo
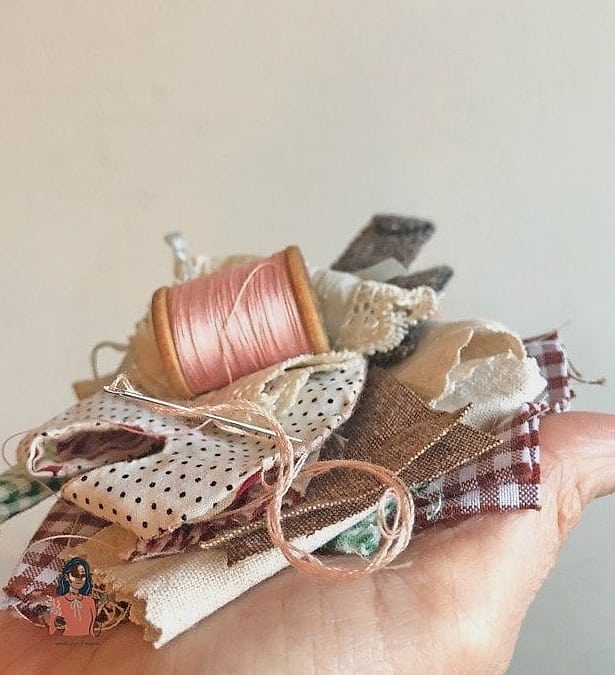
Keep a trash bin and a separate scrap bin side by side near your cutting table. This one habit prevents fabric scraps from ending up mixed with actual trash or, worse, on the floor.
End With a Weekly Reset Habit
Set aside ten minutes at the end of each sewing session to put tools back in place and clear your table. This single habit does more for long-term organization than any storage product.
Organizing a sewing room isn’t about making it look perfect — it’s about making it work better for how you actually create. Start with two or three ideas from this list rather than trying to tackle everything in one weekend. Once your space feels calmer, you’ll probably notice you’re spending less time searching for supplies and more time actually sewing, which is really the whole point.